Watching your child zip down a hill with a smile can be a proud — and slightly nerve-wracking — moment. It’s natural for parents to ask: Is this really safe for my child?
The short answer is yes, when the right precautions are in place. Skiing, like any sport, carries some risk, but it’s also a highly teachable and manageable activity. With the right guidance and preparation, children can enjoy skiing safely and confidently.
If there’s one safety step that rises above the rest, it’s this: start with professional ski lessons. But we’ll assume you’ve done that and move on to looking at how you can keep your kids safe while they are skiing with you.
As ski instructors, one of our most important roles is keeping your children safe. Part of this is teaching them how to keep themselves safe. We do this from the moment we first set foot on the nursery slope. The progression we use is below, and you can use it too when skiing with your kids outside of lessons.
Safe stopping and starting
We start with where to and not to stop on a piste. Children should never stop in the middle of a piste. On a narrow section. Or in a place where they cannot see up and down the slope for at least 30m.
Instead, have them ski to the side of the run on wide sections of the piste visible from above and below. This helps prevent collisions.
We also recommend not stopping underneath chair lifts. People do drop items by accident, and occasionally, skis and boards also fall off. It’s unlikely, but better to be safe than sorry.
Stopping is only half the challenge. After stopping, or any time you’re joining a new piste. Kids should look uphill and around to make sure no one is coming before they set off. This is like looking both ways before crossing the road.
Explain how to overtake safely and who has right of way
The skier or boarder ahead of you has the right of way. Teach your children that if someone is downhill from them but they want to overtake, they should give that person space. People can ski in unpredictable patterns and if you pass to closely you may get caught out.
It’s also worth mentioning that they should not make sudden cuts across the entire slope. It can be helpful to link this back to crossing roads. You wouldn’t step off a pavement without looking over your shoulder to check if it is clear. No matter how good the jump on the other side of the road looks.
Get them to think about leaving space for others
How often do you see ski schools snaking across an entire piste? Unfortunately, far too frequently. And it leads to terrible habits in younger skiers. Try to get your kids to ski on no more than half the available piste width. This might seem quite tough. But if you’ve chosen the correct terrain it is easy to do. You then leave plenty of space for faster skiers to come by. You’ll never get it right every time but it’s a great thing to aim for.
Explain the difference between the piste markers
In Europe, piste markers are poles placed along the sides of a ski run. These are green, blue, red or black, to show the difficulty of the slope you’re on.
The colour of the marker top matches the difficulty rating of the slope:
🟢 Green = Green (Easy) slopes.
🔵 Blue = Blue (Intermediate) slopes.
🔴 Red = Red (Difficult) slopes.
⚫️ Black = Black (Very Difficult) slopes.
These poles show the slope boundaries and difficulty, even when visibility is low. The tops of the poles are fluorescent orange to distinguish the right-hand edge of the piste as you ski down it.
Every 100m or so, you will also find a lollipop-shaped post with a name and number. The numbers decrease (24, 23, 22, etc.) until you reach the bottom (marker number 1). This numbering is useful in emergencies. Skiers can quickly call ski patrol for help by sharing their marker name and numbers.
Explain what to do in an emergency
Remember the DRS CAB CO
- D—Check for DANGER. Don’t rush into help without making sure it is safe to do so. Once you know it is safe, prevent other accidents by marking the accident site. Place your skis crossed upright in the snow at least 10 meters uphill from the injured skier. This will alert others.
- R-Check for RESPONSIVENESS. This will really help the piste patrol understand the severity of the incident. Here we have another acronym, AVPU. A stands for Alert, V for Verbal, P for Pain and U for unresponsive. Share whether the person in the accident is Alert, responding to Verbal cues, reacting to Pain, or Unresponsive. And any other details about their injuries.
- S-SEND FOR HELP. Note your location using the nearest piste marker (name and number). Then call the piste patrol. Share details about the injuries, how serious they are, the number of injured people, and the condition of each person. Include if they are responsive or unresponsive, if they have breathing difficulties, or if there is bleeding.)
The rest of the CAB CO acronym is for emergency first aid, which we’ll cover in a different blog.
Choose the correct terrain
Pick terrain and slopes that are suitable for their skill level. It’s safest to stick to runs that the least experienced child can handle, even if another child is more advanced. You can also split up into groups to make sure no one is pushed too hard. Young kids and novice skiers or snowboarders should start on gentle terrain to master the basics before moving on to tougher slopes. Avoid taking them to steeper parts of the mountain too soon, even if they’re keen. Be patient and don’t be afraid to say no if your kids want to try a slope that’s beyond their level.
If your kids have ski lessons in the morning, be sure to check in with their instructor to see how they’re getting on and what they can handle. Instructors can advise on which colour runs are suitable and which to avoid for now. The jump from easy green runs to intermediate blue runs is a big one, so take it slow and gradually work up to it. As your child’s skills improve, you can start to take on more challenging slopes, but do it step by step. If you have a mixed group, plan your afternoon to keep everyone safe. Often, it’s best to ski at the pace of the slowest or youngest child so no one feels overwhelmed.
Also, keep an eye on the terrain conditions and how the weather affects the slope difficulty. A run’s difficulty rating assumes decent conditions, but snow conditions can totally change the game. For example, an intermediate blue run can become really challenging if it’s icy in the morning or has loads of moguls on a powder day.
Weather and cold-weather safety
Mountain weather can change fast. Cold temperatures, wind, and strong sun at high altitudes pose risks if you’re unprepared. Dress kids in layers: a moisture-wicking base layer, an insulating mid-layer, and a waterproof outer layer. This keeps them warm and dry. Bring extra critical items like gloves. If one pair of mittens gets wet, a dry pair is ready. Cover exposed skin on very cold or windy days. Use neck gaiters or balaclavas to protect faces. Young kids lose heat faster than adults, so watch for signs of frostnip or frostbite. Look for pale, cold skin on fingers, toes, nose, or cheeks.
Sun exposure is another concern. Even on cloudy or cold days, apply sunscreen to your children’s faces and any exposed skin to avoid sunburn. Also, use UV-protective goggles or sunglasses for eye protection. Proper goggles help your kids see terrain changes better in low contrast. If there’s fog, heavy snow, or low visibility, change your plans. Slow down, keep the group close, or choose lower mountain runs where you can see better. It’s okay to end the day early if the weather turns bad. No fun is worth risking getting caught in a blizzard with tired kids.
Gear up for safety
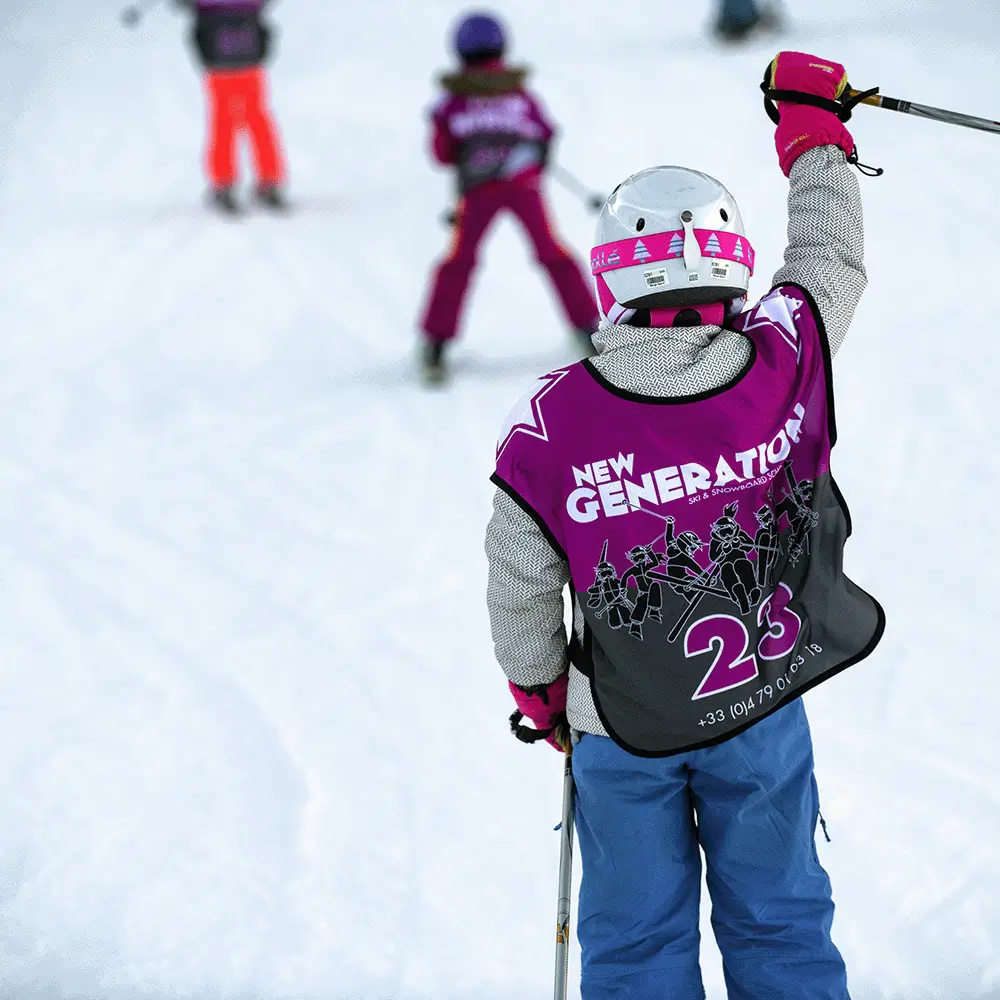
To stay safe on the slopes, your equipment has got to be right. The most important thing is a helmet – make sure your kids wear one that’s designed for skiing or snowboarding. It’s non-negotiable, so set the rules and stick to them. The helmet needs to fit perfectly and be buckled under the chin every time. If it’s loose, it’s no good in a crash. As a parent, you’ve got to show them it’s a must – wear a helmet yourself.
Eye protection is also crucial. Get your kids to wear proper ski goggles or at least shatterproof sunglasses when it’s sunny. Goggles keep UV rays, glare, wind, and icy snow out of their eyes.
When it comes to other gear, get the size right. Skis, snowboards, boots, and poles need to fit your child’s height, weight, and skill level. If they don’t, it’s a safety risk. For example, big boots can be a problem for skiing control, and skis that are too long are harder to turn. When renting gear, choose a reputable shop and make sure you give them your child’s correct details for the right setup. Many injuries happen because bindings are not adjusted properly and don’t release when they should. A ski technician can sort this out in no time.
Don’t risk using old gear that might be damaged. If a helmet’s taken a hard hit, it’s better to replace it after a serious crash.
Clothing and accessories also matter for safety. Kids need waterproof and insulated gear like jackets and snow pants to stay warm and dry. Wet and cold conditions can cause hypothermia or frostbite. Make sure their boots are snug and that their clothes aren’t bunched up inside, which can cut off circulation. Every morning, check their gear. With the right gear from head to toe, your kids will be safer, more comfortable, and more confident on the slopes.
Take breaks and watch for fatigue
A top safety tip is to know when your kids are getting tired and to take breaks. Skiing and snowboarding can be tough on everyone. Kids tend to get tired faster than adults, but they might not say because they’re having too much fun. When kids are tired, they’re more likely to lose focus, get out of control, or have accidents. Plan regular breaks for water, snacks, and bathroom stops. A good rule of thumb is “No pee, no ski” – if you haven’t taken a toilet break in a while, you probably need a drink.
Keep an eye out for signs of fatigue like slower movements, more falls, or complaints of wobbly legs. As the day goes on, take it easy – consider finishing with some easy runs on the bunny hill or lower mountain to wind down. Many injuries happen on the last run of the day because everyone is tired and pushing to get one last run in. If your child is beat by 3 PM, it’s okay to call it a day instead of forcing one last run. There’s always tomorrow!
Safety on the slopes is about being prepared, making smart choices, and listening to your kids. By following these guidelines, you’ll create a safe space for your children to build their skills. When kids feel safe and confident, they can truly enjoy their time on the mountain. Have fun on your family ski adventures, and stay safe out there! Happy skiing and boarding!

