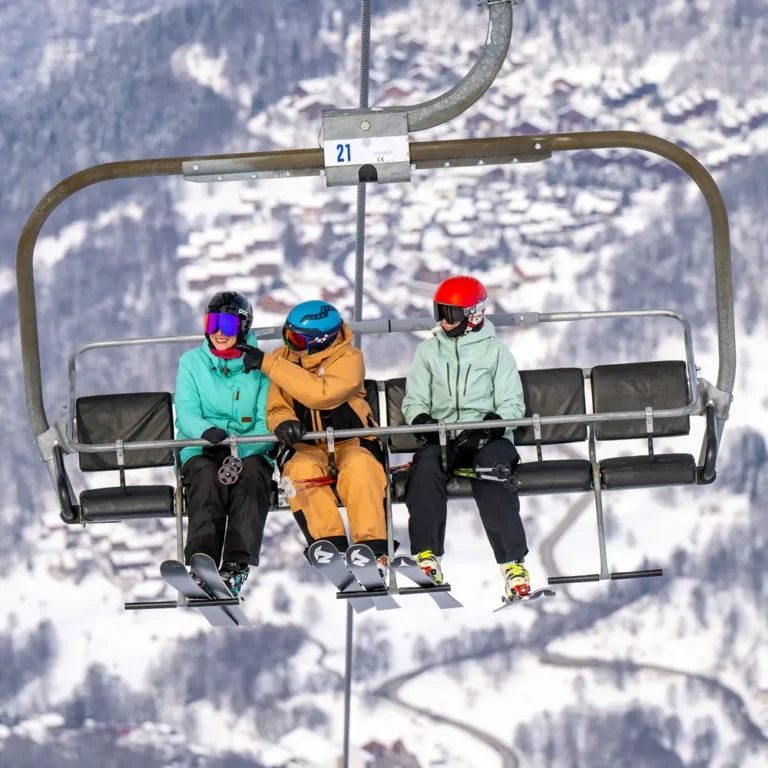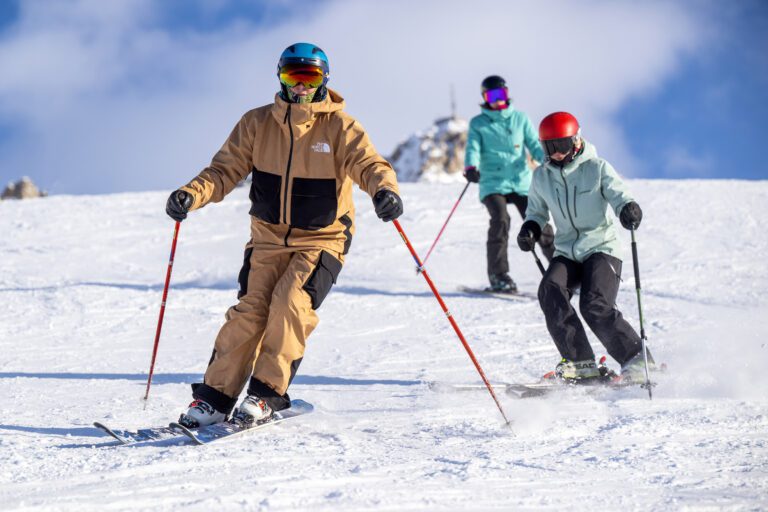
If you’re planning on taking your BASI Level 1 and 2, this kit list has everything you’ll need. This list breaks down what works, what doesn’t, and how to avoid any easy equipment mistakes on your journey to becoming a ski instructor.
Kit Checklist
Skis – 1 pair of skis (extra is optional)
- 65-80mm underfoot.
- 13-17 meter radius.
- Piste Focus.
Poles – 1 pair of poles
- Standard alpine ski poles.
- Avoid going for touring poles.
- Carbon poles (Optional extra).
Boots – 1 pair of boots
- Piste-oriented boot.
- Fully custom fit.
- Flex of 110-130 (Optional and dependent on skier weight).
Helmet – 1 Helmet
- Standard alpine ski helmet.
- Advise against any helmets that have a visor or that cover the face.
Goggles – 1 or 2 pairs of goggles
- Goggles with interchangeable low and high VLT lenses.
- The alternative is to have two pairs: a high VLT pair and a low VLT pair.
- Good fit to your helmet (optional).
Gloves – 1 or 2 pairs of gloves
- One or two pairs of traditional gloves, mittens, or trigger finger gloves.
- Be aware of the cuff they have and the advantages of each
- Liners (thin under gloves) if your glove is of lower quality.
Jackets – 1 or 2 ski jackets
- One or two ski jackets. An all-in-one jacket or a layered combination.
Salopettes – 1 or 2 pairs of salopettes
- Either with or without an insulating lining.
- Large ventilation zips (Optional).
- Dungaree-style braces (Optional).
Midlayers and Thermals – 3 or 4 Midlayers, 5 or 6 Thermal tops and bottoms
- Marino wool or synthetic fibres.
- Avoid cotton.
- 3/4 midlayers and 5/6 thermals
Socks – 5 to 7 pairs of ski socks
- As thin as possible.
- Long enough to go just below the knee.
- Marino wool or synthetic fibres.
- Avoid cotton socks.
- 5 to 7 pairs.
Neck warmer – 1 to 3 neck warmers
- Neck warmer which aren’t designed to cover your nose and mouth.
- Thin material is better.
- Marino wool or synthetic fibres.
- 1 to 3 neck warmers.
Ski Instructor Course Kit List
Skis
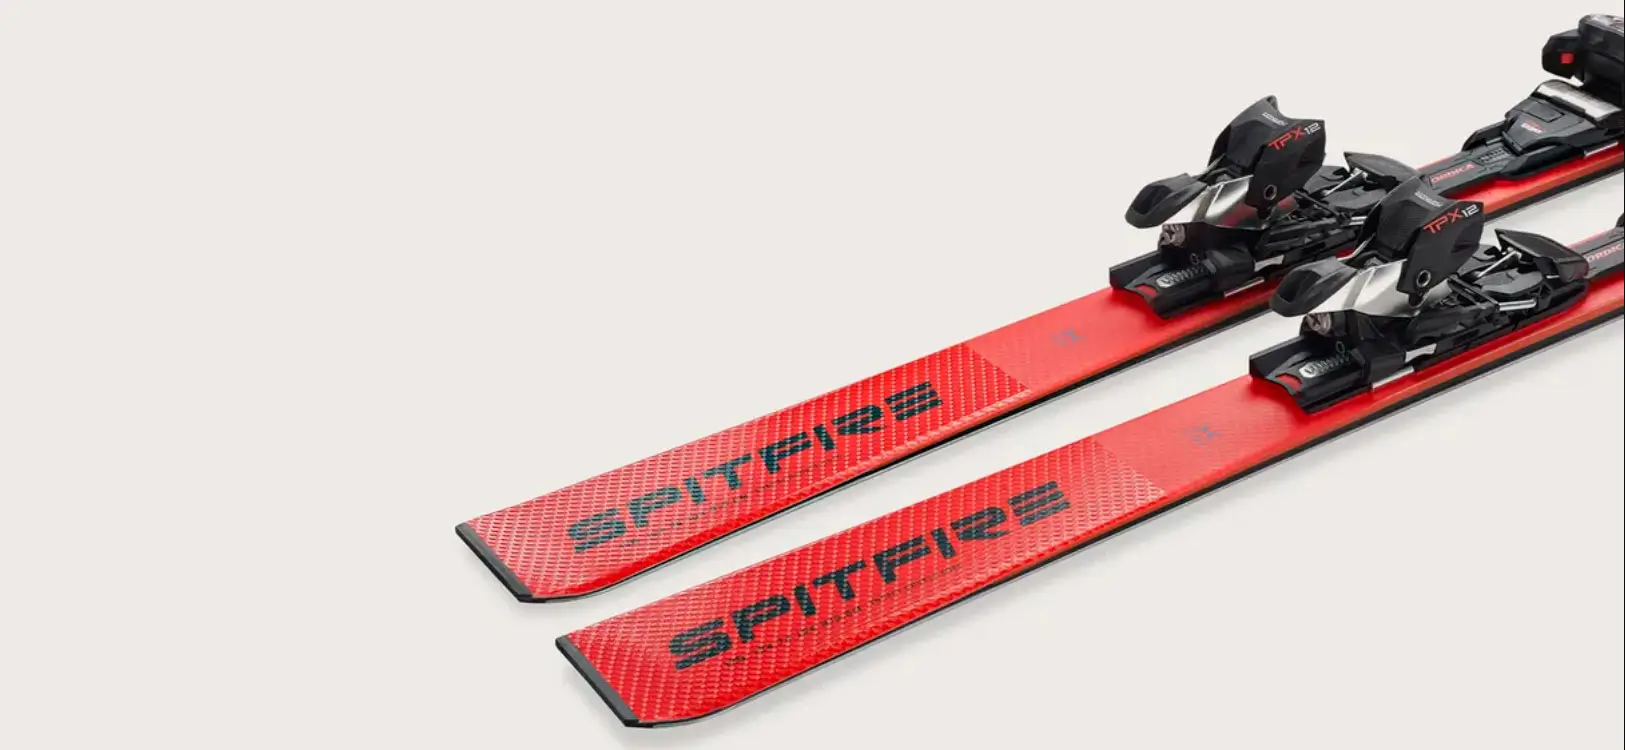
Buying skis that suit an instructor course’s needs is important. It is also cheaper than renting. The type of ski that you buy is a personal preference. We recommend certain skis that will give you a much better chance of success. These skis have a piste focus and are 65-80mm underfoot with a 13-17 metre radius. For my BASI level 1 and 2, I used the Head Supershape i-Rally (Now called e-Rally). This ski was 177cm long and was 77mm underfoot with a 14.7 turn radius. It was a good choice. It offered a good level of performance. It was stable and much more forgiving than a purely race-oriented ski.
Boots
The boots you choose should reflect the type of skiing you’ll be doing. Ideally, you should pick a piste-oriented boot. A lightweight touring boot with a walk mode will be unnecessary. It might make it more difficult for you to get all the performance from your boot.
Likewise, a race boot may be unsuitable. Even though you’ll be able to get performance out of it, you’ll be spending all day in it, and it may be very uncomfortable. Your best bet is a piste boot with a flex of 110-130.
More important than your type of boot is the fit. When I started my BASI 1 and 2 training, I had a boot that was too big. This made it very hard to flex. My foot would move inside the boot before the boot would move. As I couldn’t flex the boot, I couldn’t get performance out of the ski. I had to buy a new pair of custom-fit boots.
These helped me massively straight away. This mistake cost me over £400. If I hadn’t bought new boots, I may have failed my instructor exams and wasted a season’s training.
If you’d like to learn more about what boots are best for you, Ellis Brigham has a boot-buying guide. This might prevent you from making the same mistake I did with my boots.
Poles
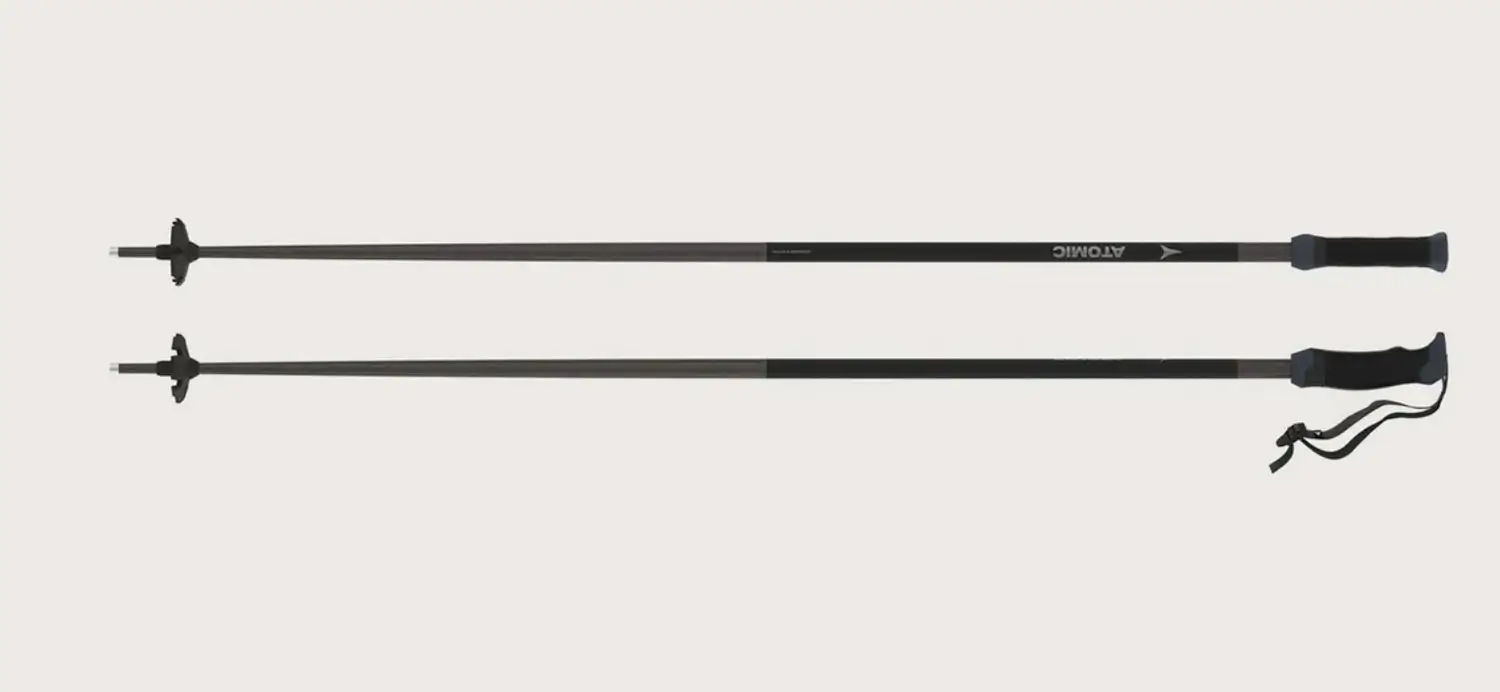
The best poles are standard alpine ski poles. We would avoid going for touring poles as they’re often weighted differently. We would also not bother with a hand guard line like those on slalom skis. Carbon poles, though more expensive, can be great. They will bend and return to their original shape, unlike aluminium poles, when you fall on them.
The length of the pole is arguably more important than what it is made of. To help you decide what’s best, we have an article that dives into choosing the best pole length.
Helmet
Most ski helmets are suitable. However, we advise against any helmet with a visor or that covers the face. When teaching, you’ll communicate better when your guests can see more of your face. Whilst visors can be lifted, they are not as great (performance-wise) as goggles. Visors are more prone to fogging. If you choose a visor helmet, you’ll probably be the only instructor with one. I have a POC helmet, which I find excellent. I’ve also previously had a Salomon helmet, which was good too. Sweet protection helmets are also a popular choice with instructors.
Goggles
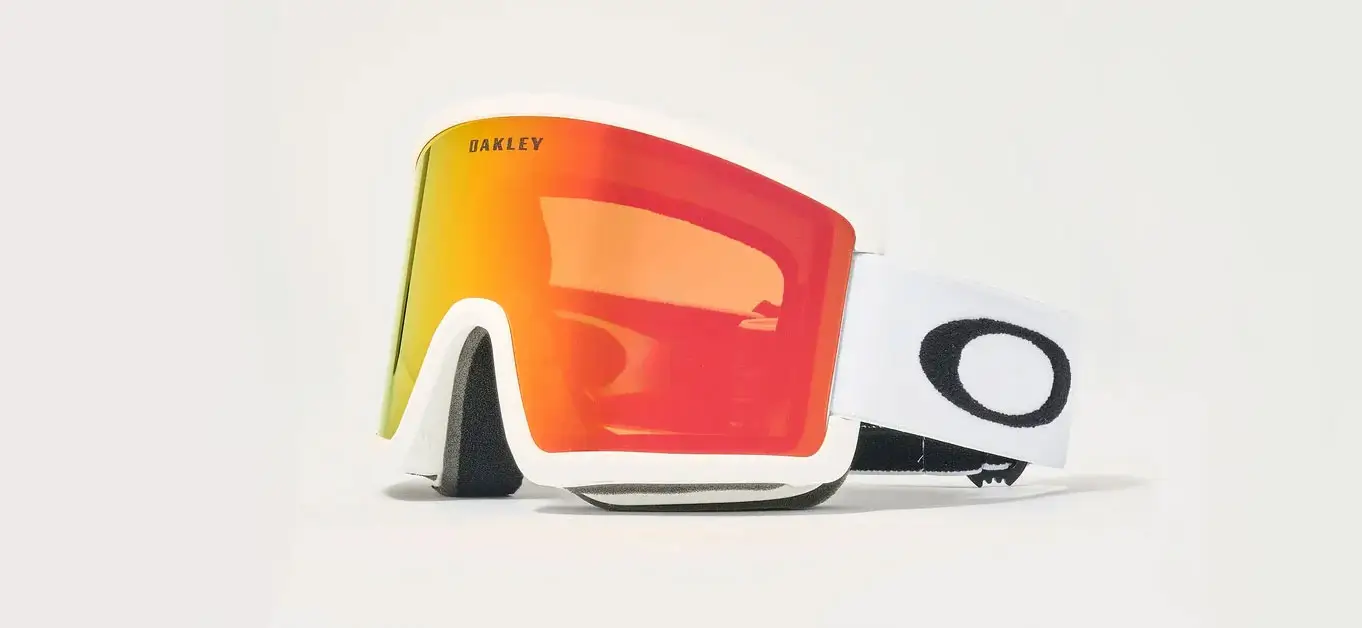
When buying goggles, there are a few things to consider. Firstly are the VLT scores. This ranges from 0-4.
Category 0-1: Night or low light (high VLT).
Category 2-3: Variable light, all-round lens.
Category 3-4: Bright sun, low VLT. Choose based on brightness and snow conditions.
Buy frames that have interchangeable lenses. These may be slightly more expensive but it will save you having to buy two different goggles. It’s important to have a high VLT to help you pick out changes in terrain during poor light conditions. A low VLT will protect your eyes from glare in bright conditions. Ignoring this could risk early-stage snowblindness. Another thing to consider is the shape, as it can affect your field of vision. A final thing to consider is how they fit to your helmet. Many instructors avoid a large gap between the top of their goggles and the peak of their helmets.
Suppose you’d like more information on the different types of goggles. Ellis Brigham has an excellent goggle buying guide.
Jackets
When buying a jacket, you’ve got two main options. The first is an all-in-one jacket. The second is a weather-resistant and insulated jacket combination. The all-in-one option is a single jacket with insulating and waterproof properties. Layered jackets include a thin weather-resistant jacket over a thicker insulated jacket.
Of the two options, I vastly prefer the layered approach. I find that having two separate specialised layers keeps me both warmer and dryer. It is also better in warmer weather, when you can remove the insulation layer or swap it for a much thinner one. You can’t do this with an all-in-one jacket.
Salopettes
Salopettes are similar to jackets, and you can have ones with an insulated lining or ones without. I don’t find that there is much difference between them, as you’ll wear thermal bottoms under either. Based on this, I don’t think the extra lining is necessary. It makes them too warm on hot days. On cold days, you can just double up on thermal bottom layers, too.
You’ll also want to pay attention to the number of vents. The more vents you’ve, the better, normally. However, you won’t need full touring salopettes where you can fully unzip them from the sides.
Some salopettes have a dungaree style with braces over the shoulder. Other salopettes are more like traditional trousers. I prefer it without the braces. I like to tuck my top-half mid layers into the salopettes and secure them with a belt. This is personal preference, and one isn’t better than the other.
Midlayers and Thermals
Thermals and midlayers are key to keeping warm. Ideally, you’ll have 5 or 6 thermal tops and bottoms. You’ll need to rotate these regularly to stay fresh. Midlayers are placed on top of your thermals. On the top half, I would wear a fleece. On the bottom half, I would skip a mid-layer. Sometimes I’d wear a loose-fitting thermal over my base thermal layer (only on cold days).
I would tuck the top thermal into the bottom thermal, then the midlayer into my salopettes. This would trap the air in my layers and keep me extremely warm.
Gloves
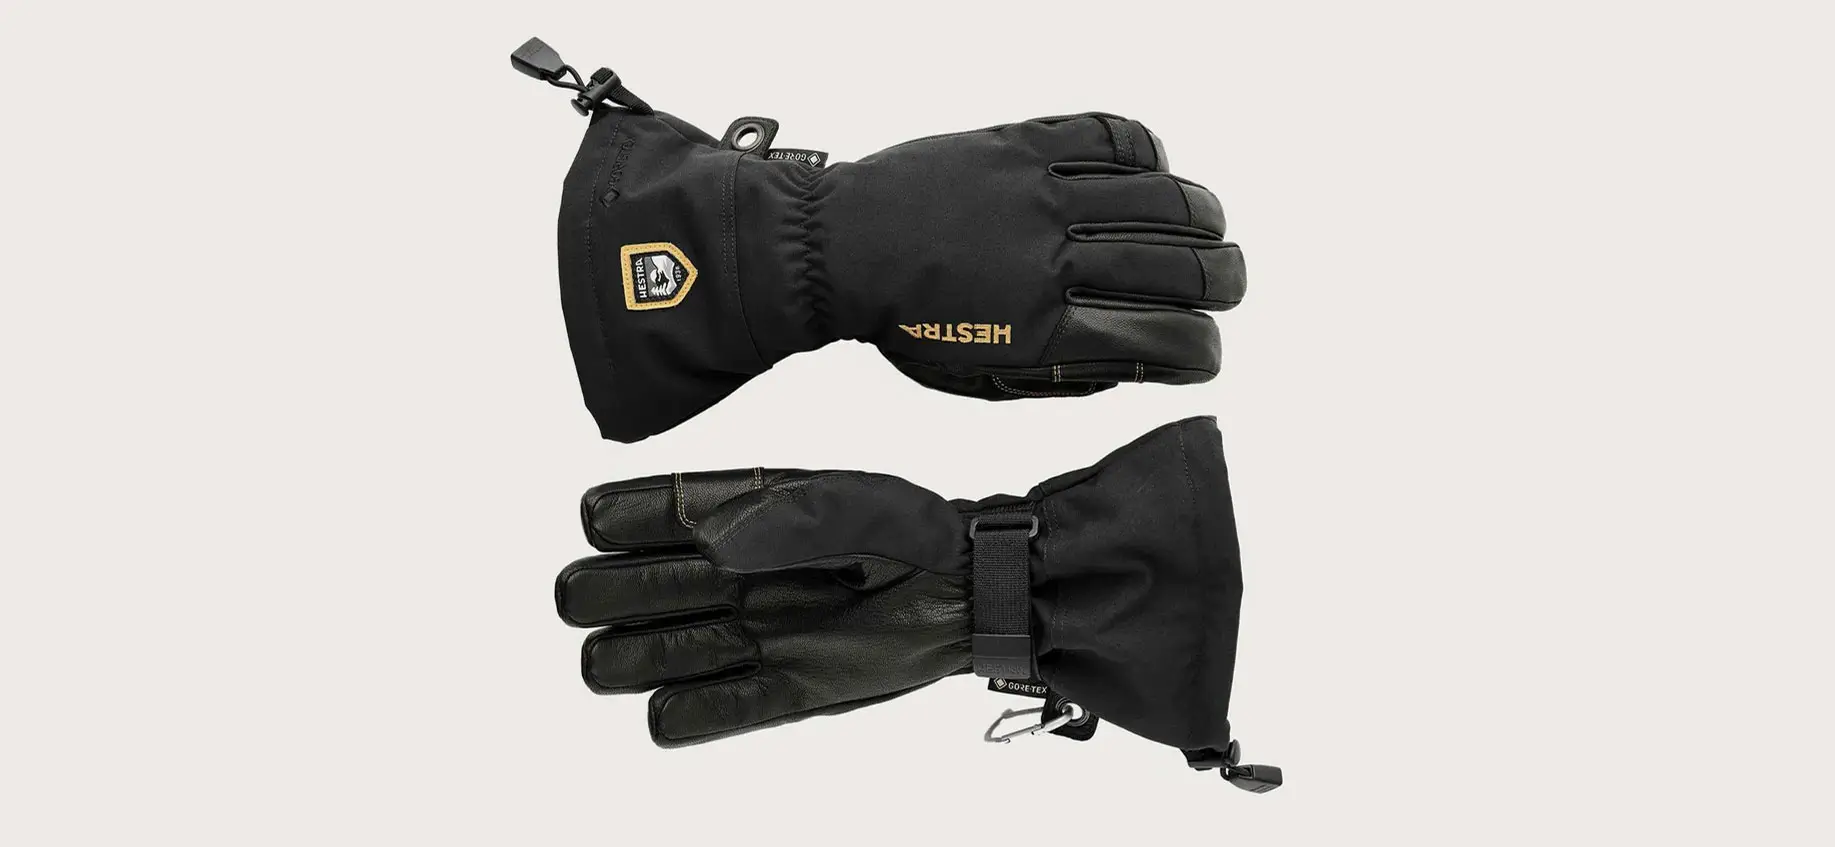
There are three routes you can go when choosing gloves. Firstly, you can choose mittens. Whilst these lack dexterity, they are definitely the warmest. If you want to trade warmth for dexterity, you’ll be better off with a classic glove. The hybrid option is the trigger glove. These gloves have your index fingers free. Your middle, ring and little fingers are together like in a mitten.
The length of the cuff of the glove falls into two categories. Firstly, there are long cuffs. These are meant to go over the wrist of your jacket. The other option is short cuffs. These are intended to be tucked into your jacket sleeve.
I prefer the longer cuff. I find that these keep the snow out better. I have also found that when tucking the glove into the jacket, it is more prone to coming out. This never happens when the sleeve goes into the glove.
I have had both Reusch and Hestra gloves. Both options were warm. The Reusch glove did wear quite quickly after one season. It lost most of its water resistance and some insulation at this point. The Hestra was excellent. After two seasons, it still worked very well. The only drawback is possibly the price. They cost in excess of £100. Black diamond gloves are also excellent, with some models at a more affordable price point. I haven’t used them for extended periods, but friends who have commend their build quality.
Socks
Choose socks that are as thin as possible. This will give you more feel through your ski and give your boot a better fit. You’ll need between 5 and 7 pairs. Your socks should be long enough that they go just below your knee.
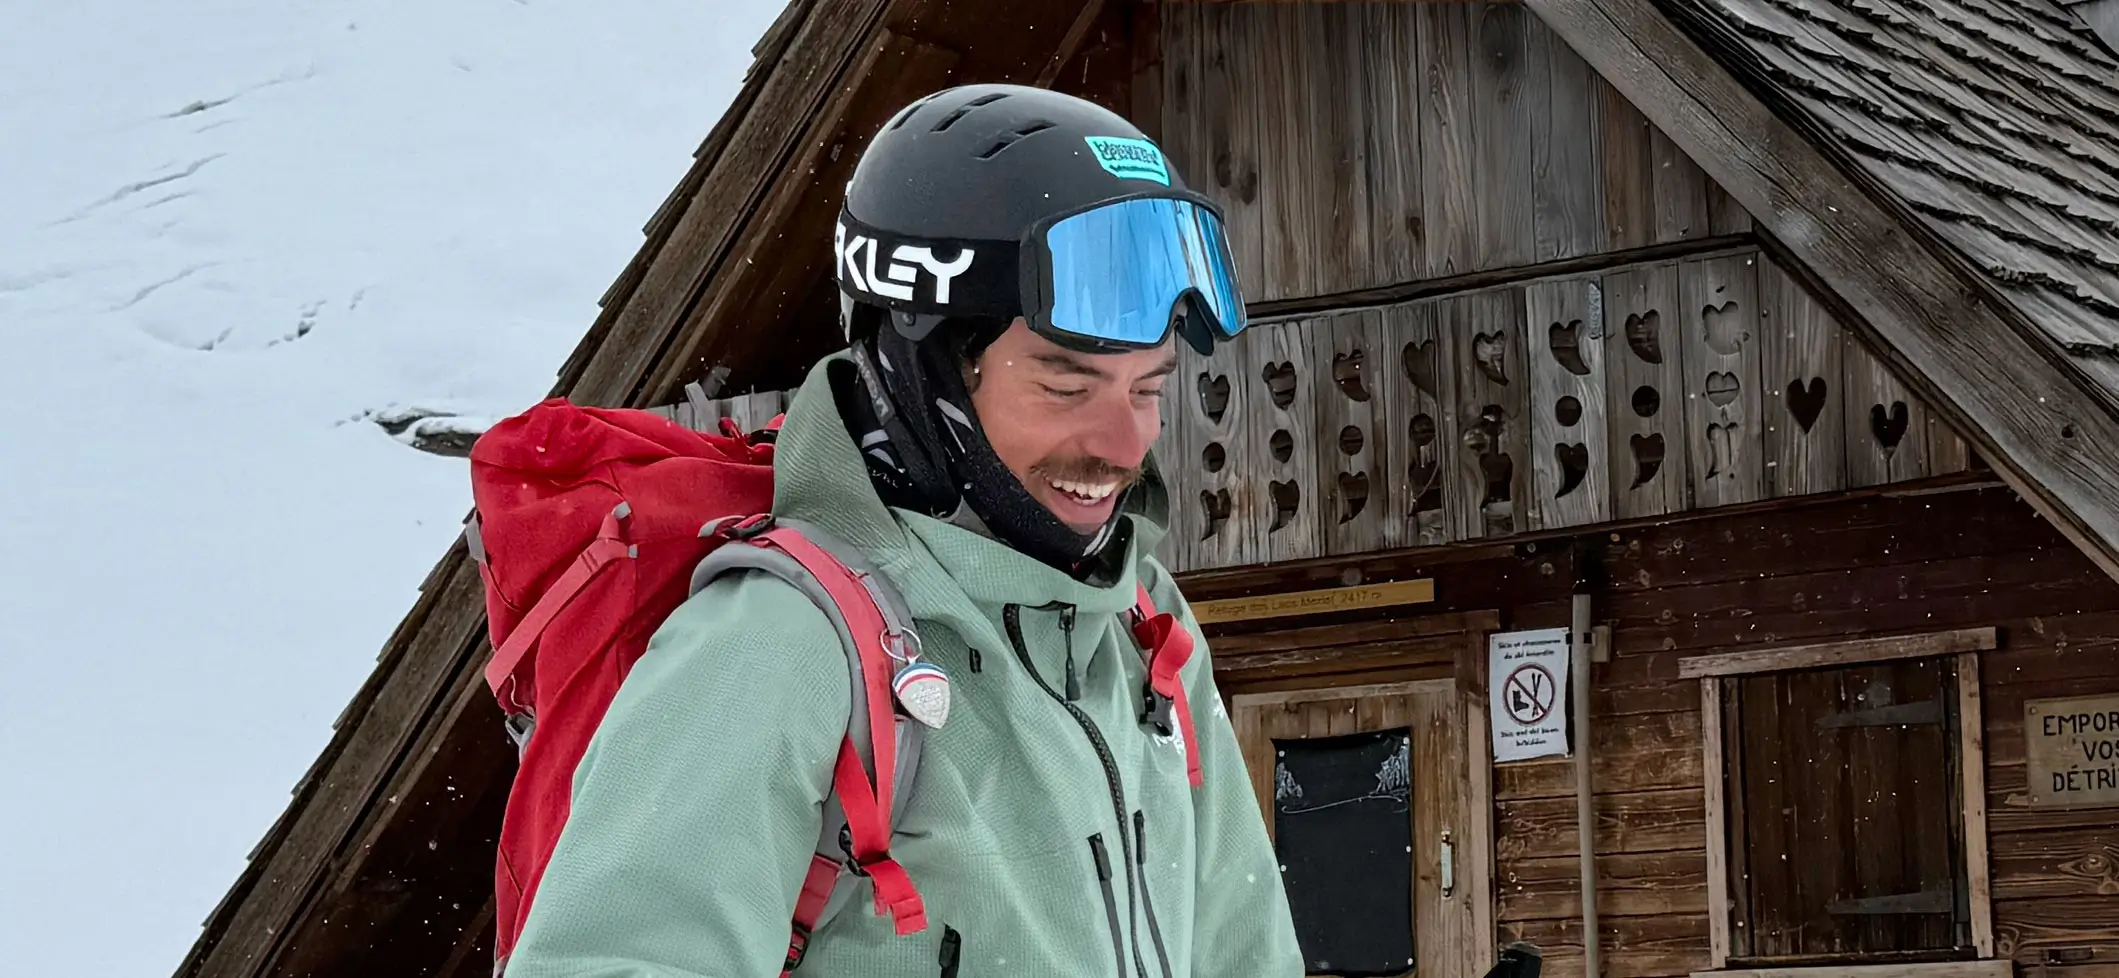
Neck warmer
A neck warmer is a great way to stay warm in high winds. The gap between your helmet and the top of your ski jacket is very exposed. A neck warmer is ideal for filling this gap.
You can pick them up for quite cheap, so it’s worth having a few. This helps you keep them fresh, as over time, if you’re skiing heavily, they can get sweaty.
The most important thing is to ensure they don’t cover your nose and mouth. Covering your nose and mouth will get them very wet very quickly, making your face very cold. If you cover your mouth, it will also make it more difficult to breathe and communicate.
The instructor in this photo has it tucked over his chin and below his mouth at the front. At the sides and back, it’s tucked into his helmet.