Carving on skis is one of the most rewarding parts of skiing.
In this guide, we’ll break down the fundamentals of carving, what it is, why it matters, and how you can learn to carve.
what’s carving?
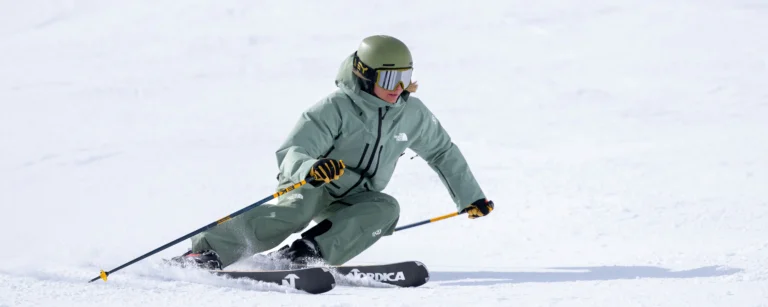
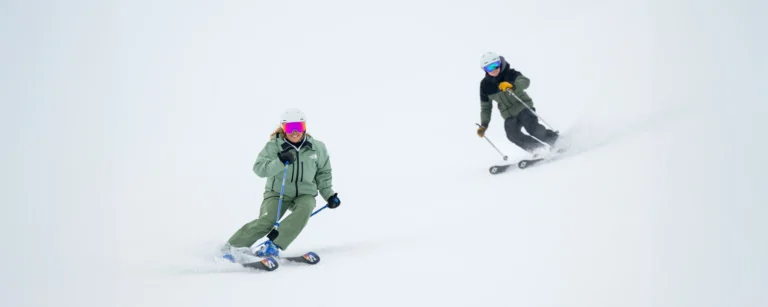
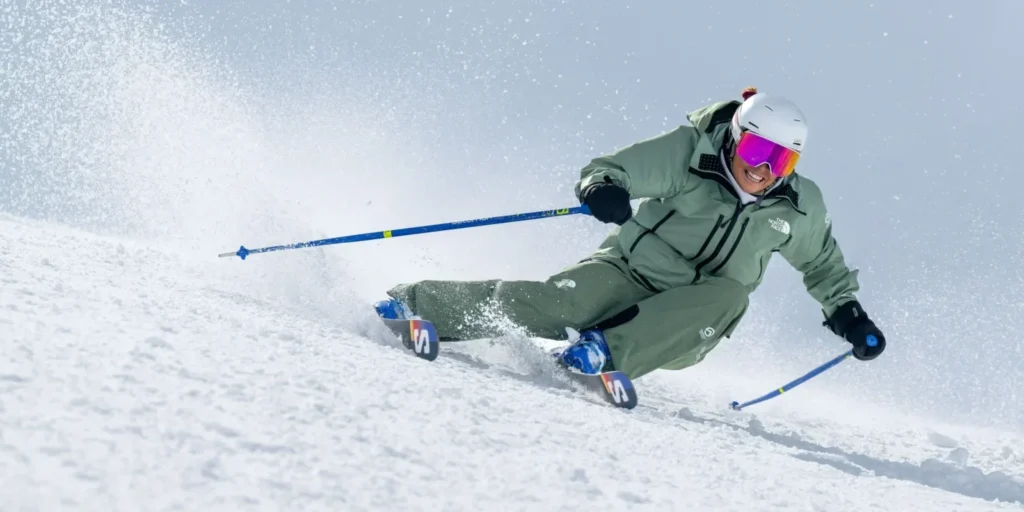
Carving is a ski technique in which the edges of the skis are angled into the snow so that they grip the snow. This results in long, flowing turns that leave two clean lines behind the skier. This differs from normal parallel turns as the skis will not skid during the turn, causing the skier to use the turn shape to control their speed.
Before you get started: What you should know first
Before you start, you should:
- Be comfortable making parallel turns on blue slopes.
- Understand of edge, rotation and pressure control.
- Pick the right terrain. Too steep or rough terrain makes it difficult to stay on your edges. You’ll pick up too much speed and lose your balance.
- Avoid flat terrain. You’ll find it hard to balance on your edges if you go too slow.
Drills to practice before you start carving
Side slipping – Position your skis horizontally across the slope. They should already be on their edge to prevent you from slipping down the slope. Flatten your skis so you slide vertically slide down. Try to avoid any diagonal movement backwards or forwards. You should feel your edges engaging when you try to stop yourself from sliding down.
It’s important to ensure that you roll onto your edges by engaging your lower body rather than pushing your skis away to create edge angle.

J-turns – J-turns will help you to practise carving without building up too much speed or having to worry about transitioning to the next turn.
Set off, allowing your skis to run straight down the hill. As they build speed, roll them onto their edges with pressure on the outside ski and hold the turn.
By holding onto the turn until you begin facing up the mountain again, you’ll lose all of your speed. J-Turns can be an excellent way to practice managing speed with turn shape.
Make sure that you practice both left and right turns.
Practice “railroad tracks” – These can be practised on flatter slopes by simply tilting your skis on their edges. This will create very long turns and should leave two clean, parallel lines in the snow behind you. Railroading allows you to see how it feels moving along the edges of your skis.
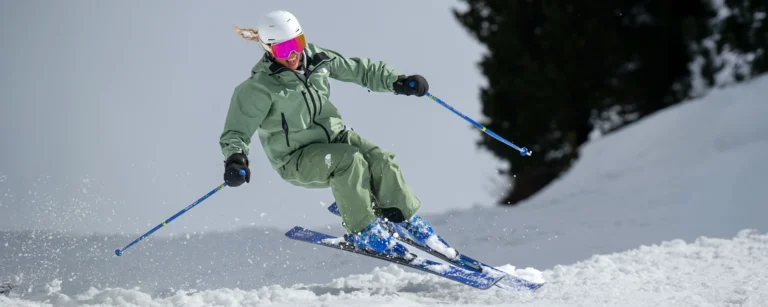
The stages of a carving turn: Build – Maintain – Release.
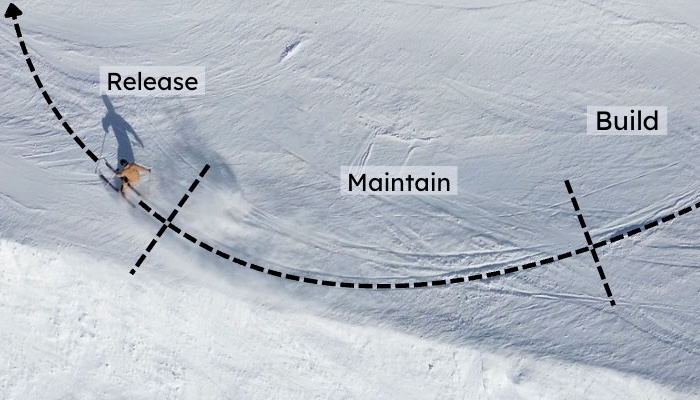
Building the turn – Create a stable setup for the turn at this stage.
- Create sufficient speed: You’ll need speed to help you balance.
- Progressively create edge angle: Avoid the temptation to tilt your skis too quickly. Doing so will make you fall inside.
- Create lateral separation: As you create a larger edge angle, increase the level of lateral separation.
Maintaining the turn – Get the most performance out of the ski at this stage.
- Forward boot pressure: Press into the front of your outside boot to bend the ski throughout the turn.
- Maximum lateral separation: As the edge angle is at its greatest, the amount of separation will be, too.
Releasing the turn – Aim to have the smoothest transfer from one turn to the next.
- Maintain lateral and rotational separation from the previous turn while reducing edge angle. Apply pressure to the outside ski. This allows your body to move down the hill and initiate the next turn smoothly.
- Increase pressure on the inside ski towards the end of the build phase. Once pressure transfer occurs, roll onto your new edges, starting the build phase on the other ski.
- The release phase is crucial for linking turns smoothly. Focus on movements that reduce angular momentum and allow your body to move out of the old turn and into the new one.
Common carving mistakes
Poor terrain choices: Get started on wide, open blue runs that are well groomed. Where you’ll have sufficient space and won’t pick up too much speed.
Poor upper body management: Failing to separate laterally will mean that you’re leaning on your inside ski.
Being too far backwards reduces your ability to influence your skis. As you won’t be able to bend them effectively, you’ll increasingly pick up speed, requiring skidding of the skis to slow you down.
Failing to rotate will cause your body to follow your skis, meaning you’ll struggle to create a flow between turns.
Lack of patience: The ski has to run along its length to carve, so if you’re impatient, you’ll likely end up skidding your turns or falling inside.
Falling inside: Falling inside occurs when your centre of mass is too far inside the turn. It is most commonly caused by insufficient lateral separation or not having enough early pressure on your outside ski.
Not finishing your turns: You’ll find that each following turn gets longer and longer until your speed picks up too much, until you rotate your skis to slow down.
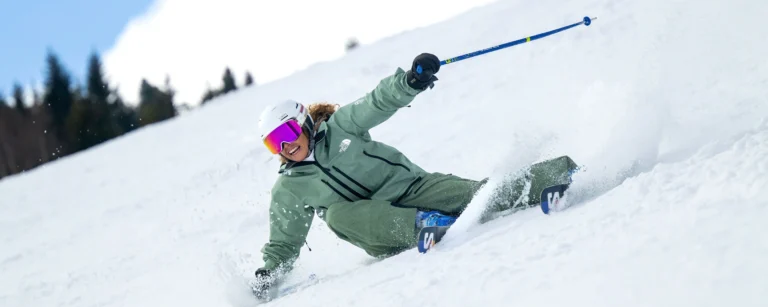
Lateral separation

Lateral separation is an important skill to have when you’re trying to improve your carving.
Lateral separation brings the centre of mass towards the outside ski. This can be seen in the angles created by the skier in the picture above. Without this, the angle pictured would be far closer to 180 degrees.

Too little separation during the maintain phase can have the unintended effect of the skier falling inside their turn. Their centre of mass would be too far inside the turn, reducing outside ski pressure.
Good lateral separation also helps the skier to transition from one turn to another. Poor lateral separation means the centre of mass travels a greater distance into a new turn.
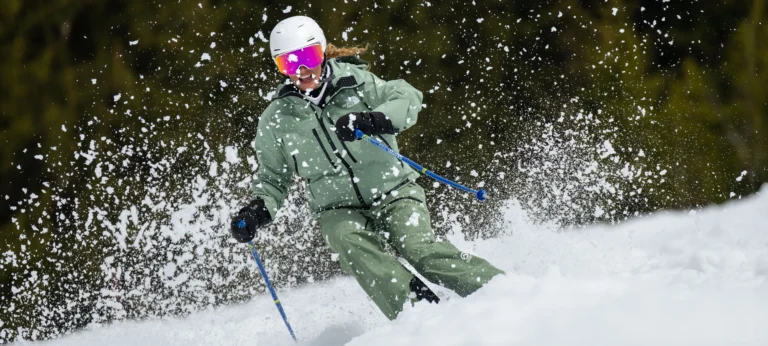
The dotted line shows the difference in the skier’s centre of mass and the path of their outside ski. The skier’s centre of mass is inside the turn to create increased edge angle and counteract the centrifugal forces exerted.
Lateral separation ensures that there isn’t too great a difference between the skier’s centre of mass and the path of the outside ski, balanced on the outside ski and can exit the turn more easily.
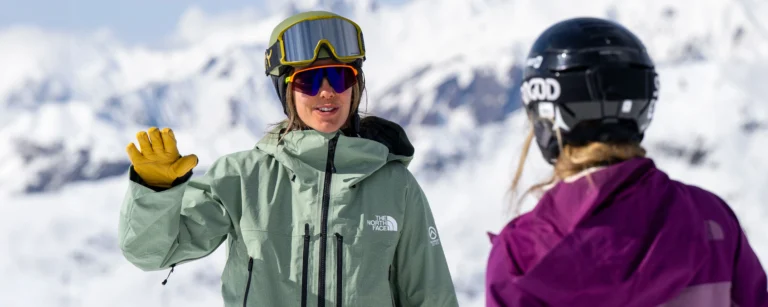
Carving takes lots of practice. When you get started, a good idea is to focus on the feeling of letting the skis run along their edges. Whether you’re practising drills, getting grips with carving, or elevating it to the next level, our private lessons, intermediate, and advanced group lessons can help you get there.