If you’ve never been skiing, getting to grips with the equipment can be your first challenge. Putting ski boots on can feel unusual for those who haven’t worn them before.
This guide breaks down the common mistakes when putting ski boots on that you might encounter. We hope it can help you avoid these mistakes.
Poor-fitting boots
Most people will rent ski boots on their first trip. The ski hire shop will help you fit ski boots if you rent them. They’ll often scan your feet to get the best-fitting boot for you. If you own custom footbeds, these may be put into the rental boots if they’re the same size. Don’t be afraid to give feedback to the bootfitter on how they feel. Be aware that ski boots will feel slightly alien to wear. They won’t be uncomfortable, but walking around will be more difficult.
If you plan on buying ski boots, ensure you do so in person at a place with a specialist bootfitter.
Avoid buying boots online – even if they’re a good price. Many things affect how well a ski boot fits. Knowing your shoe size doesn’t equate to knowing your ski boot size. Ski boots use a different measuring system. Two different ski boots of the same size can be different lengths or widths. This makes it very difficult to tell how well a boot fits until you wear it.
If you buy a ski boot that is far too big or too small, you won’t be able to alter it enough to fit.
I’ve bought the wrong size ski boots before. The boots were too big, which affected my ability to flex them. My foot would move too much inside my boot before it would flex. There was nothing that I could do to make the boots fit. This meant I had to buy a new custom-fit boot, an expensive mistake.
Your best bet is to buy from a bootfitter. This way, you’ll have comfortable boots to help you ski better. You should also choose to get custom-fitted liners and footbeds. This will give you the best experience possible. If you buy new boots, they will be uncomfortable for the first day or two while you break them in.
We have a guide to help you determine whether it’s time to buy ski boots or if it’s better to keep renting.
Clothing mistakes
Your clothes and how you wear them will affect how your boots fit.
The socks you wear will have the greatest impact. Wearing thick or multiple socks on cold days is a common mistake. This’ll make your boots fit poorly. Well-fitting boots will feel far too tight. Ski boots that are too big will let you wear thick socks or multiple pairs. This’ll negatively affect your skiing. It increases movement within the boot and reduces your control of the skis.
Two pairs of socks or a single thick pair won’t make your feet warmer. This will reduce blood flow, leading to colder feet over time. Two pairs of socks or a single thick pair can also create a quicker sweat buildup. Wet, sweaty feet will soon get cold once you stop moving.
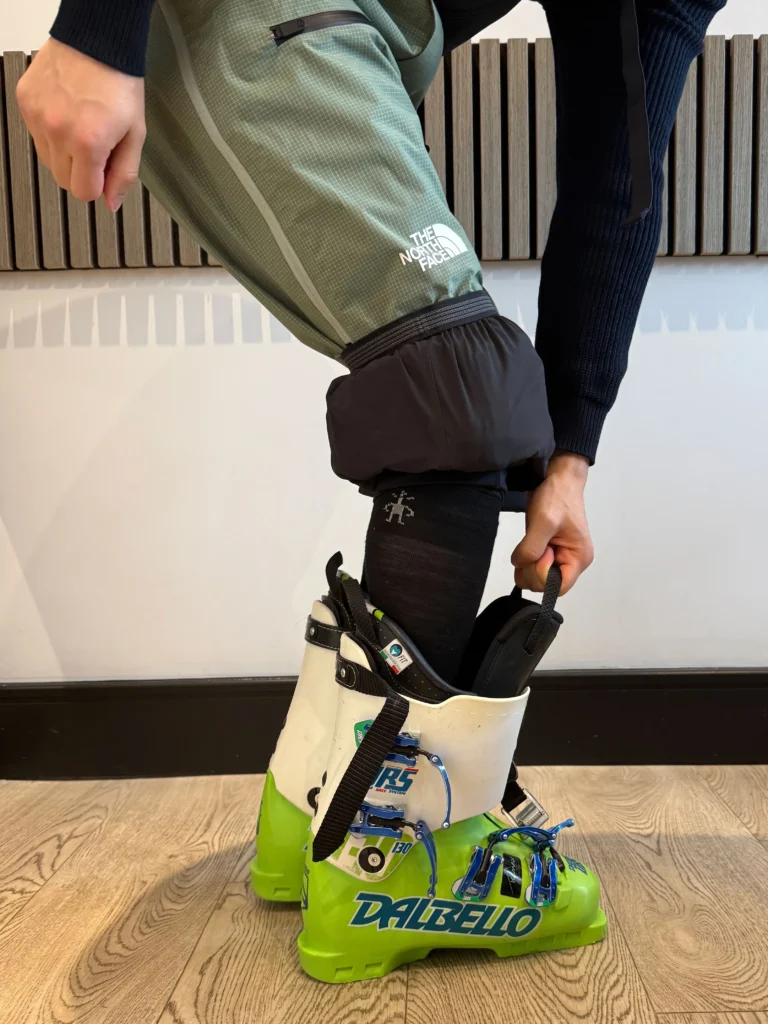
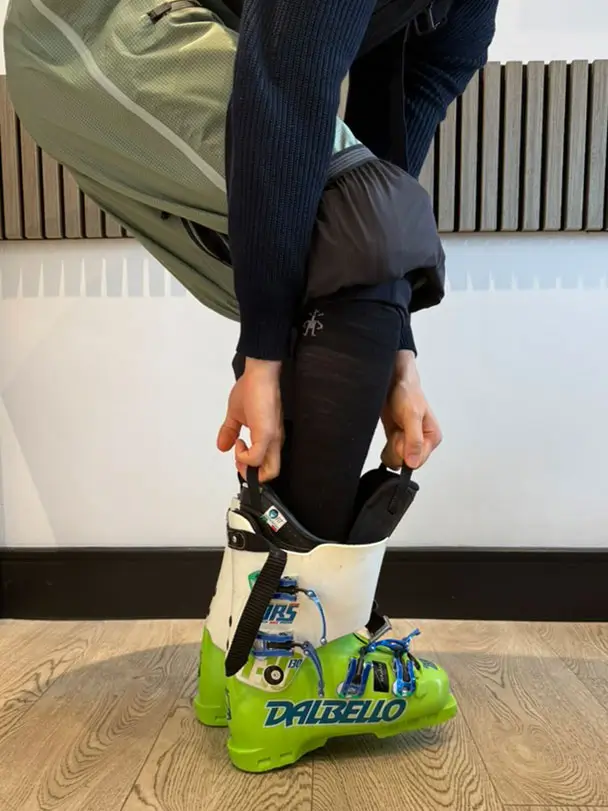
Even the right socks can be problematic. Ensure that your socks are pulled up to three-quarters up your shin. If they aren’t pulled up tight, they may have creases. These creases will create pressure points, which will become very uncomfortable.
Ensure that your socks are long enough to go above your boots.
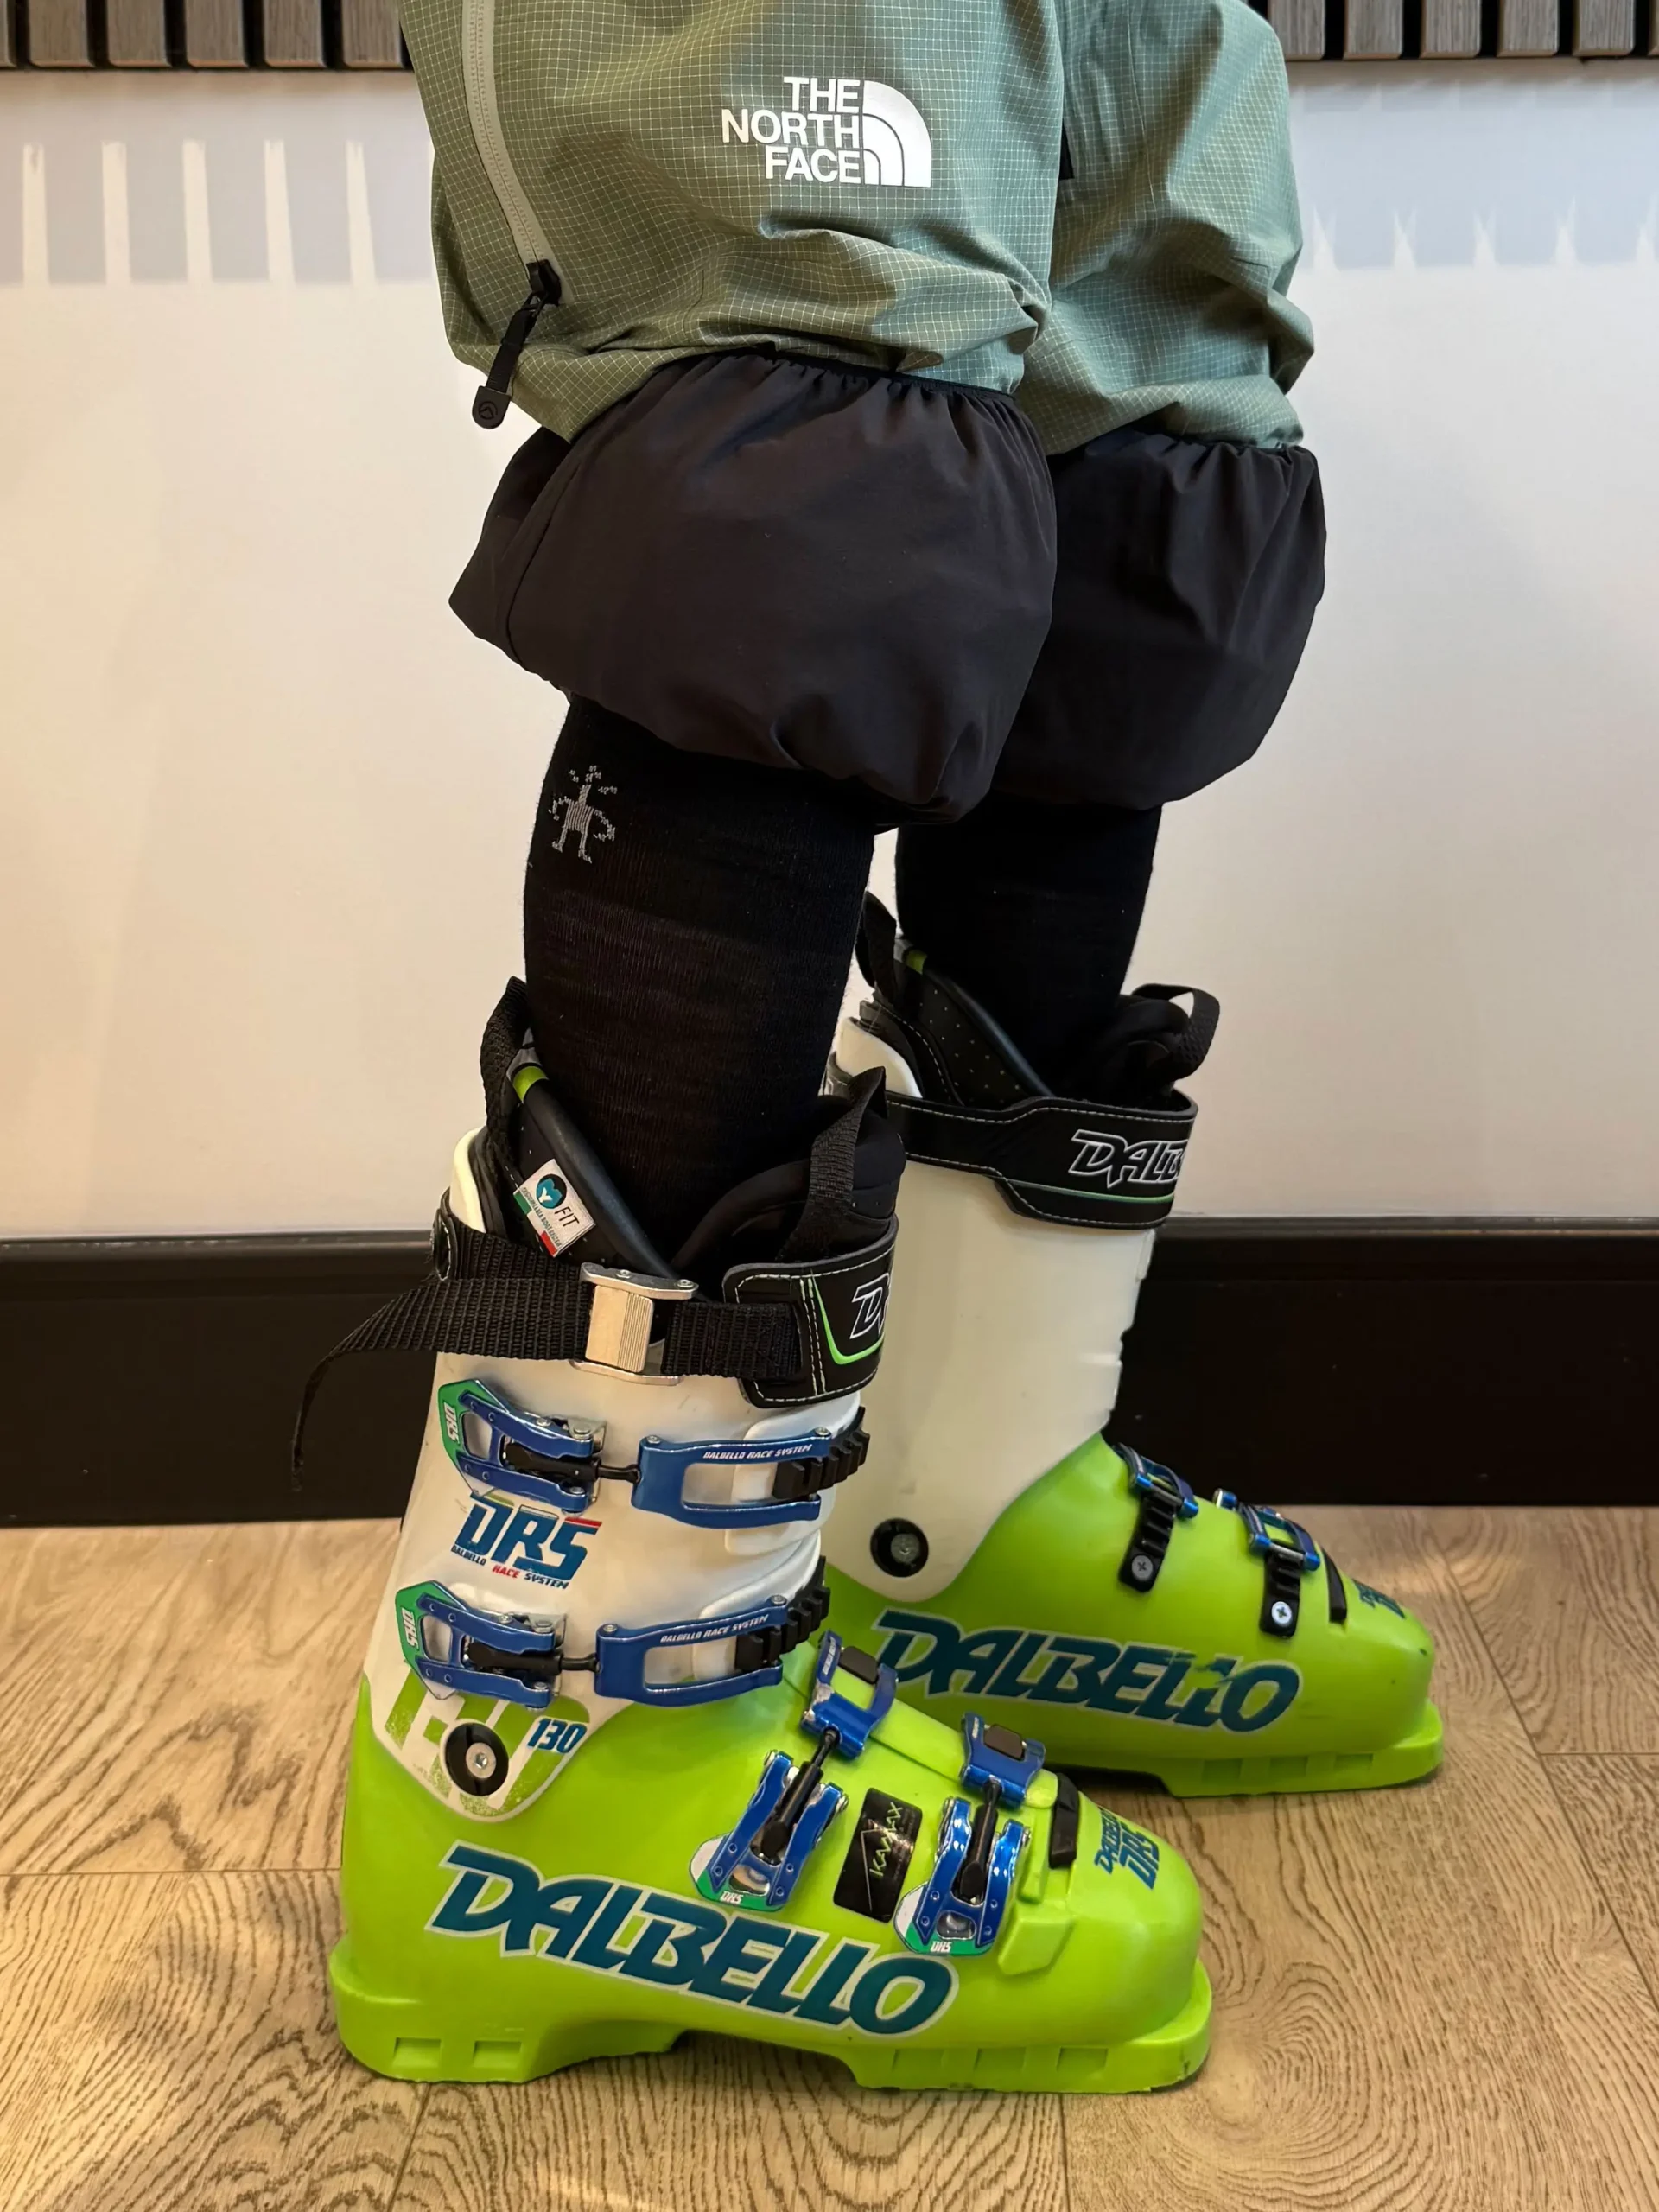
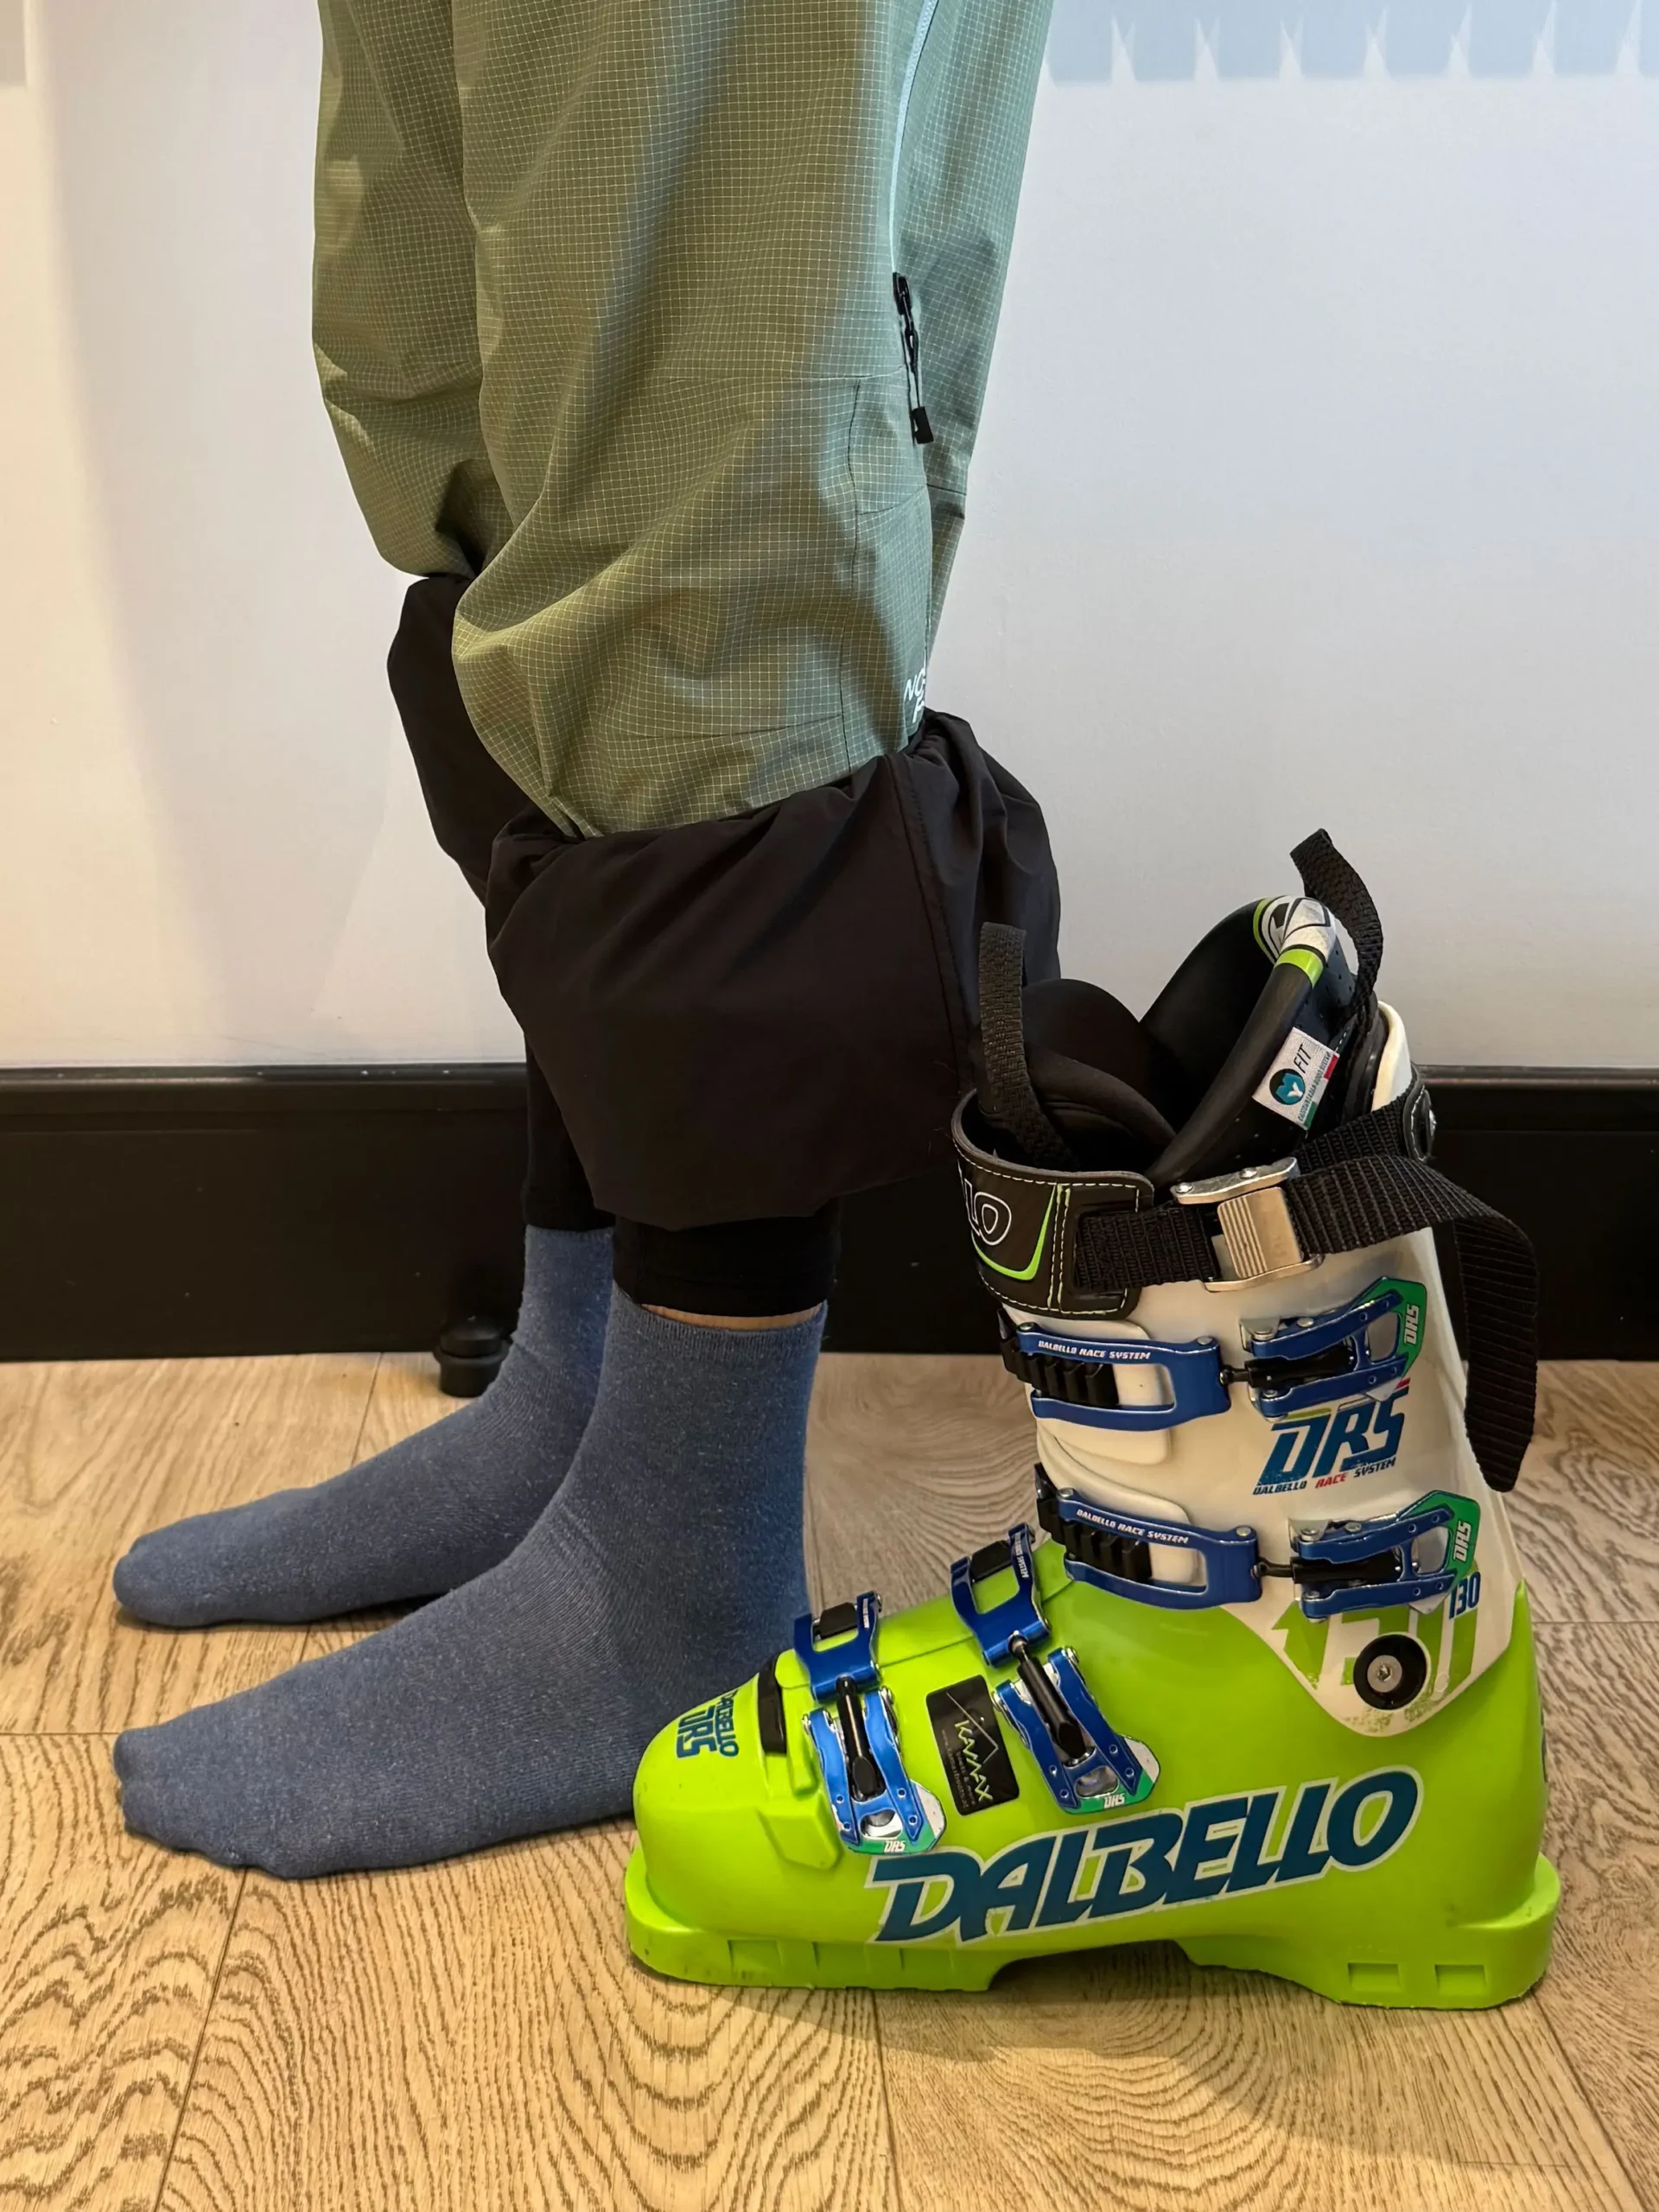
Socks that go above the boot – Left photo
Socks that are too short – Right photo
If they’re too short, you’ll rub between your shin and the boot. In this situation, the seam that is usually at the top of the sock will also be on the front of the boot. This will create another pressure point when you apply forward pressure in the boot.
If your socks are too long, they may be annoying around your knee area. However, this won’t cause any discomfort in your ski boot.
When you’re skiing, you’ll wear thermals and salopettes. Ensure you don’t tuck either of these into the boot. The thermals should be tucked into the sock above the boots. Your salopettes should be over the boot only once it’s done up. The Salopette snow gaiter can be easy to tuck into the boot. This should be on the outside of the boot, as it will stop the snow from getting into the boot.
Boot best practices
Boot storage is really important. Poorly stored boots make putting them on much more difficult.
If your boots are left in a cold area, the plastic becomes very hard and loses its flexibility. A stiffer boot becomes difficult to open all the way. A more malleable boot is helpful to get your foot into.
If they’re still wet from the day before and are left in a cold area overnight, they won’t dry. Wet boots will make your feet very cold, ruining your day.
Be careful leaving custom-moulded liners and boots too near a radiator or fire. These are often moulded to your feet via a heat-moulding process. If you heat them up too much, they’ll lose their shape and may no longer fit you as well as they should. I’ve melted part of the plastic on my boot liner before by leaving it too close to a radiator.
Putting your boot on
When you’re putting your boots on, it helps to be standing up. Standing up gives you a better angle to put your boot on. It also lets you use your body weight to push your foot into the boot.
Before you stand up to put your boot on, make sure it is completely open. Even slightly latching the buckles will make it impossible.
Boots fully unbuckled – Left photo
Boots buckled loosly – Right photo
If you don’t pull on the tongue of the boot, you’ll struggle to get your foot in. Pulling on the tongue is the main way to open the boot.
Most boots have a small handle to pull up on the tongue. Some have one on the back, too. Pull up on these handles as you push your foot down into the boot.
Be careful not to pull it too far or too early. This can cause parts of the plastic outer shell to go inside the boot, making it impossible to shut the boot. If you did manage to shut the boot, it would be extremely uncomfortable on your shin. Always check that the tongue of the boot is the part that is touching your shin. Also, neatly layer the plastic layers nearly over each other outside the shin.
Once you’ve got one foot in a boot, use something to help you balance against to help with your second boot.
Use the power strap to close the boot partway so the buckles can reach their latch. Once the buckles have reached their latch, don’t be tempted to do them all the way straightaway. Start halfway and then increase all the way. If you’re walking around, the buckles should be on their lowest setting. This should make it easier to walk.
It’s usually best to have the shin buckles tight and the top-of-foot ones more loose. The shin buckles and power strap will help you ski the most. If the top of the foot buckles are too tight, they will give you foot cramps and will not help your skiing much.
Once your boots are done up, you can put your salopettes over the top of the boots. Ensure that the elastic section is pulled down over the outside. This stops snow from getting into your boot.
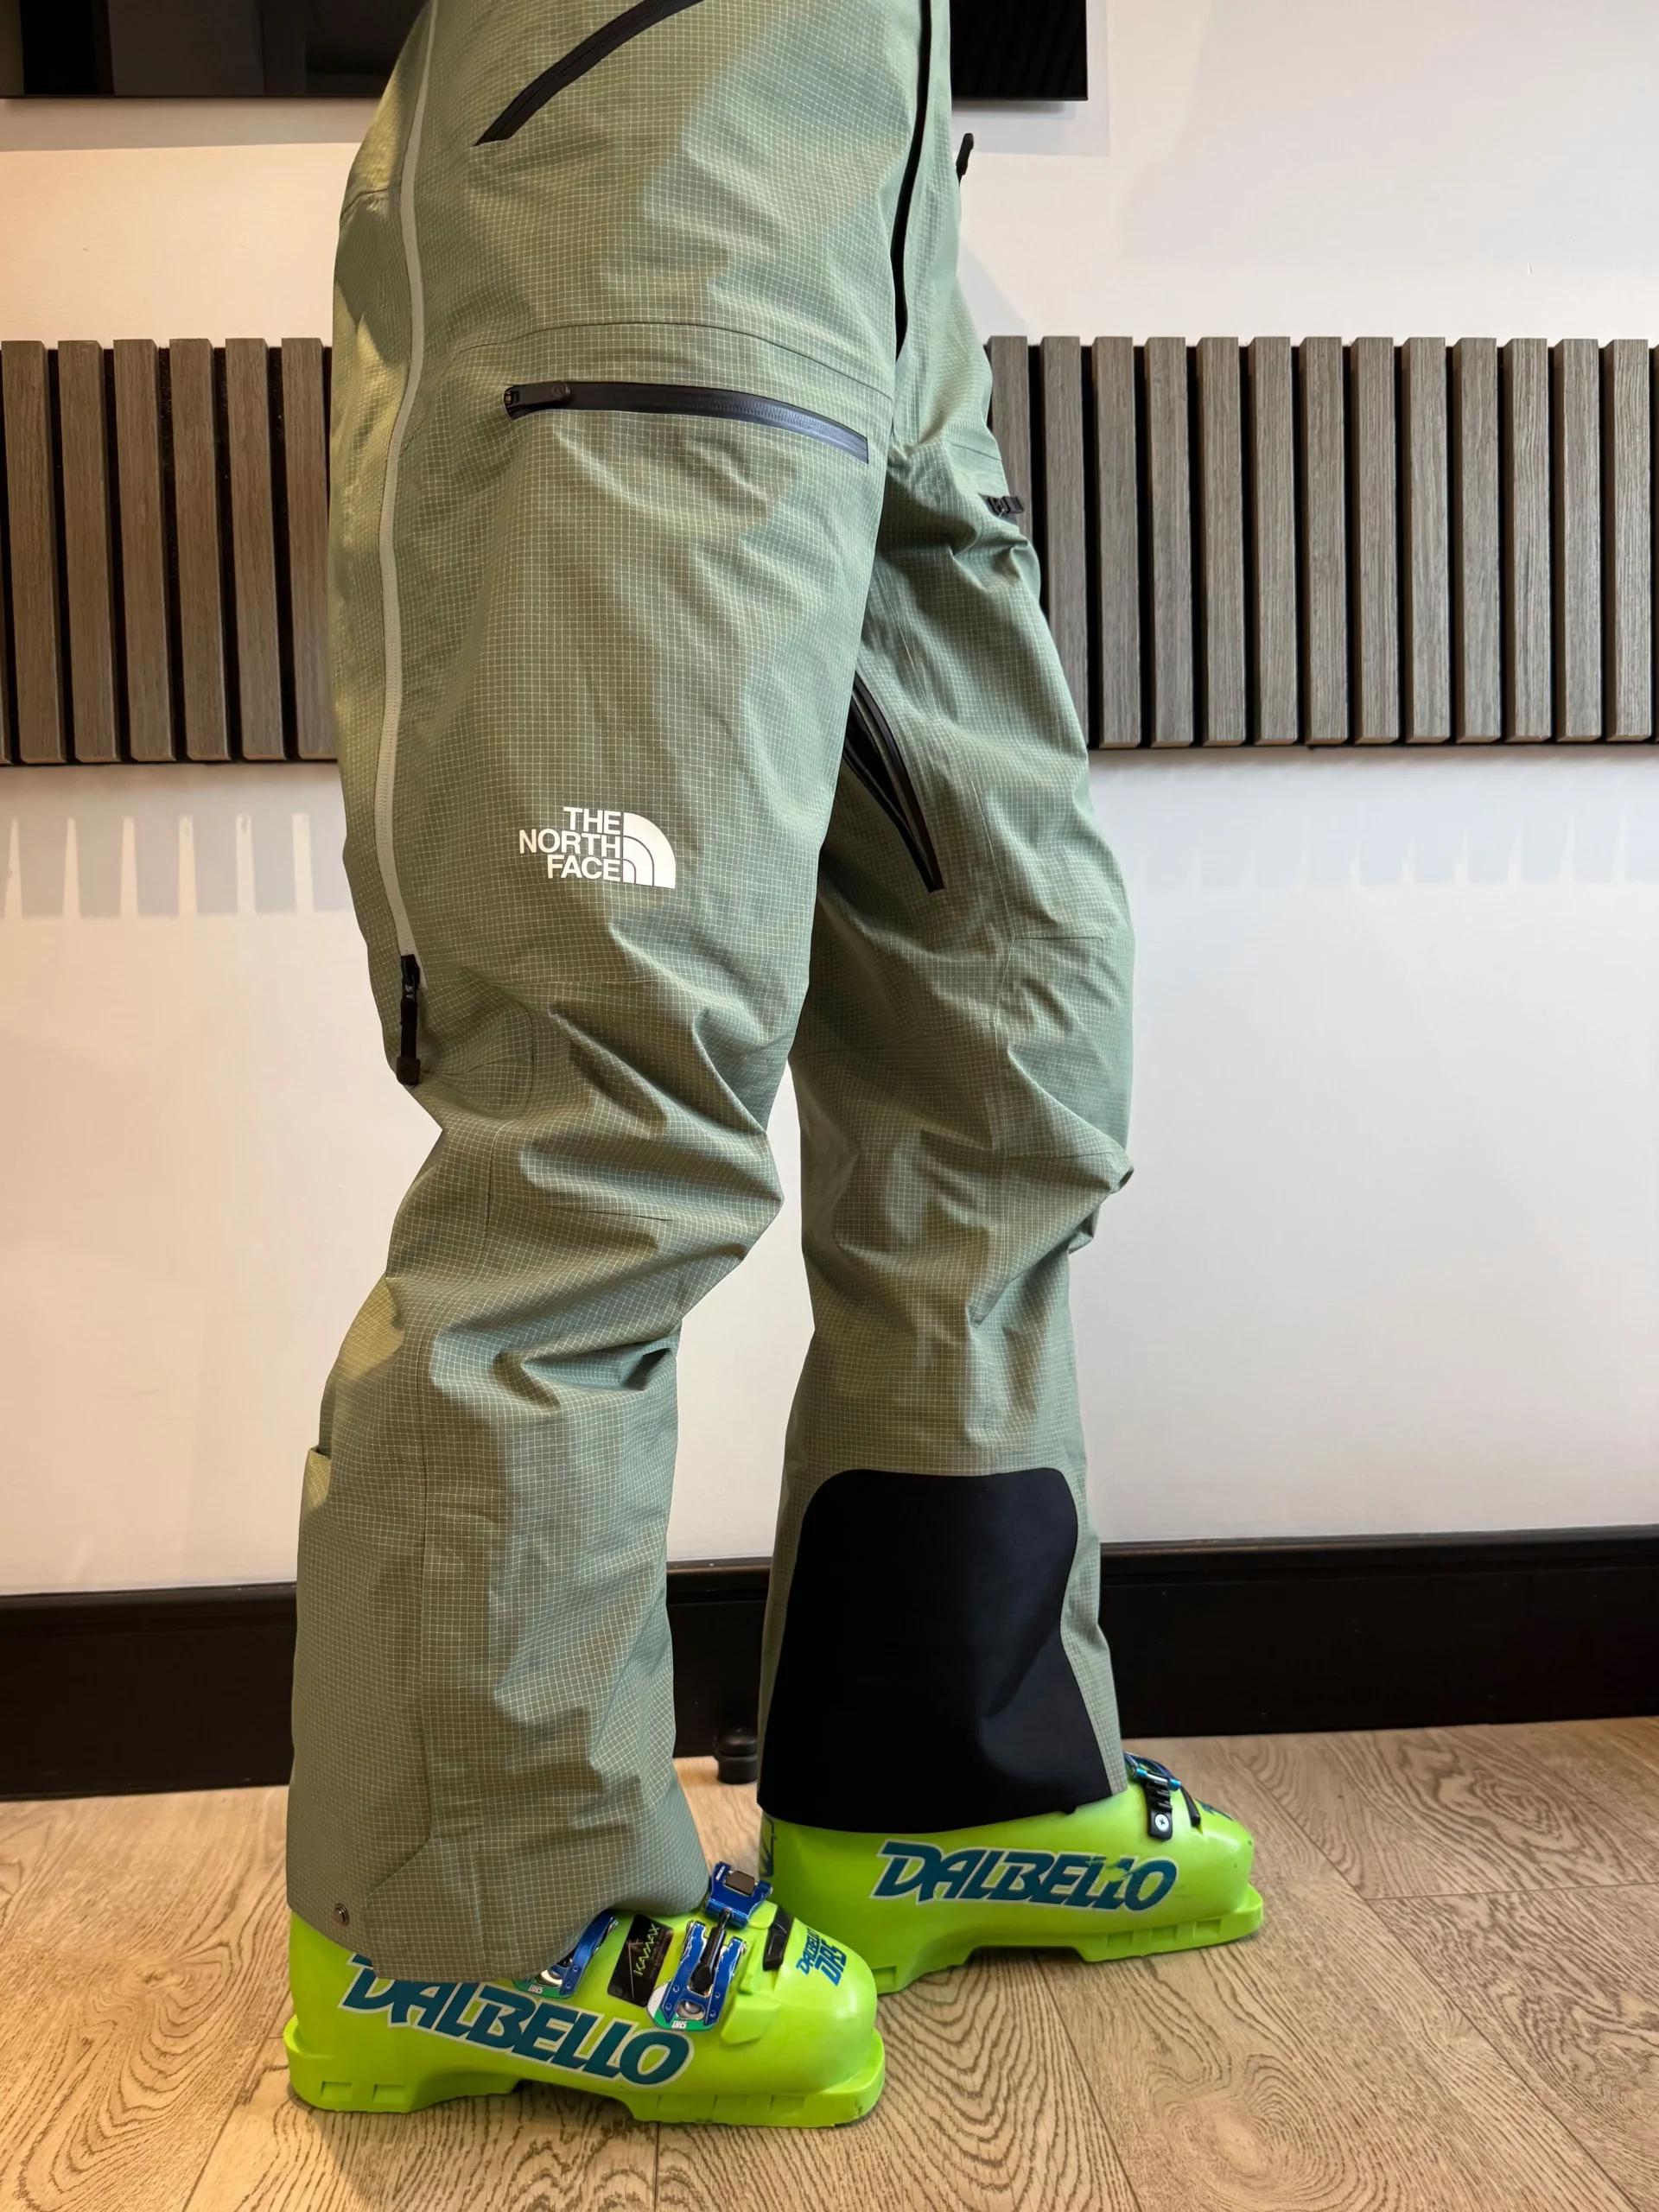
Salopette and Snowgaiter pulled over boot – Left photo
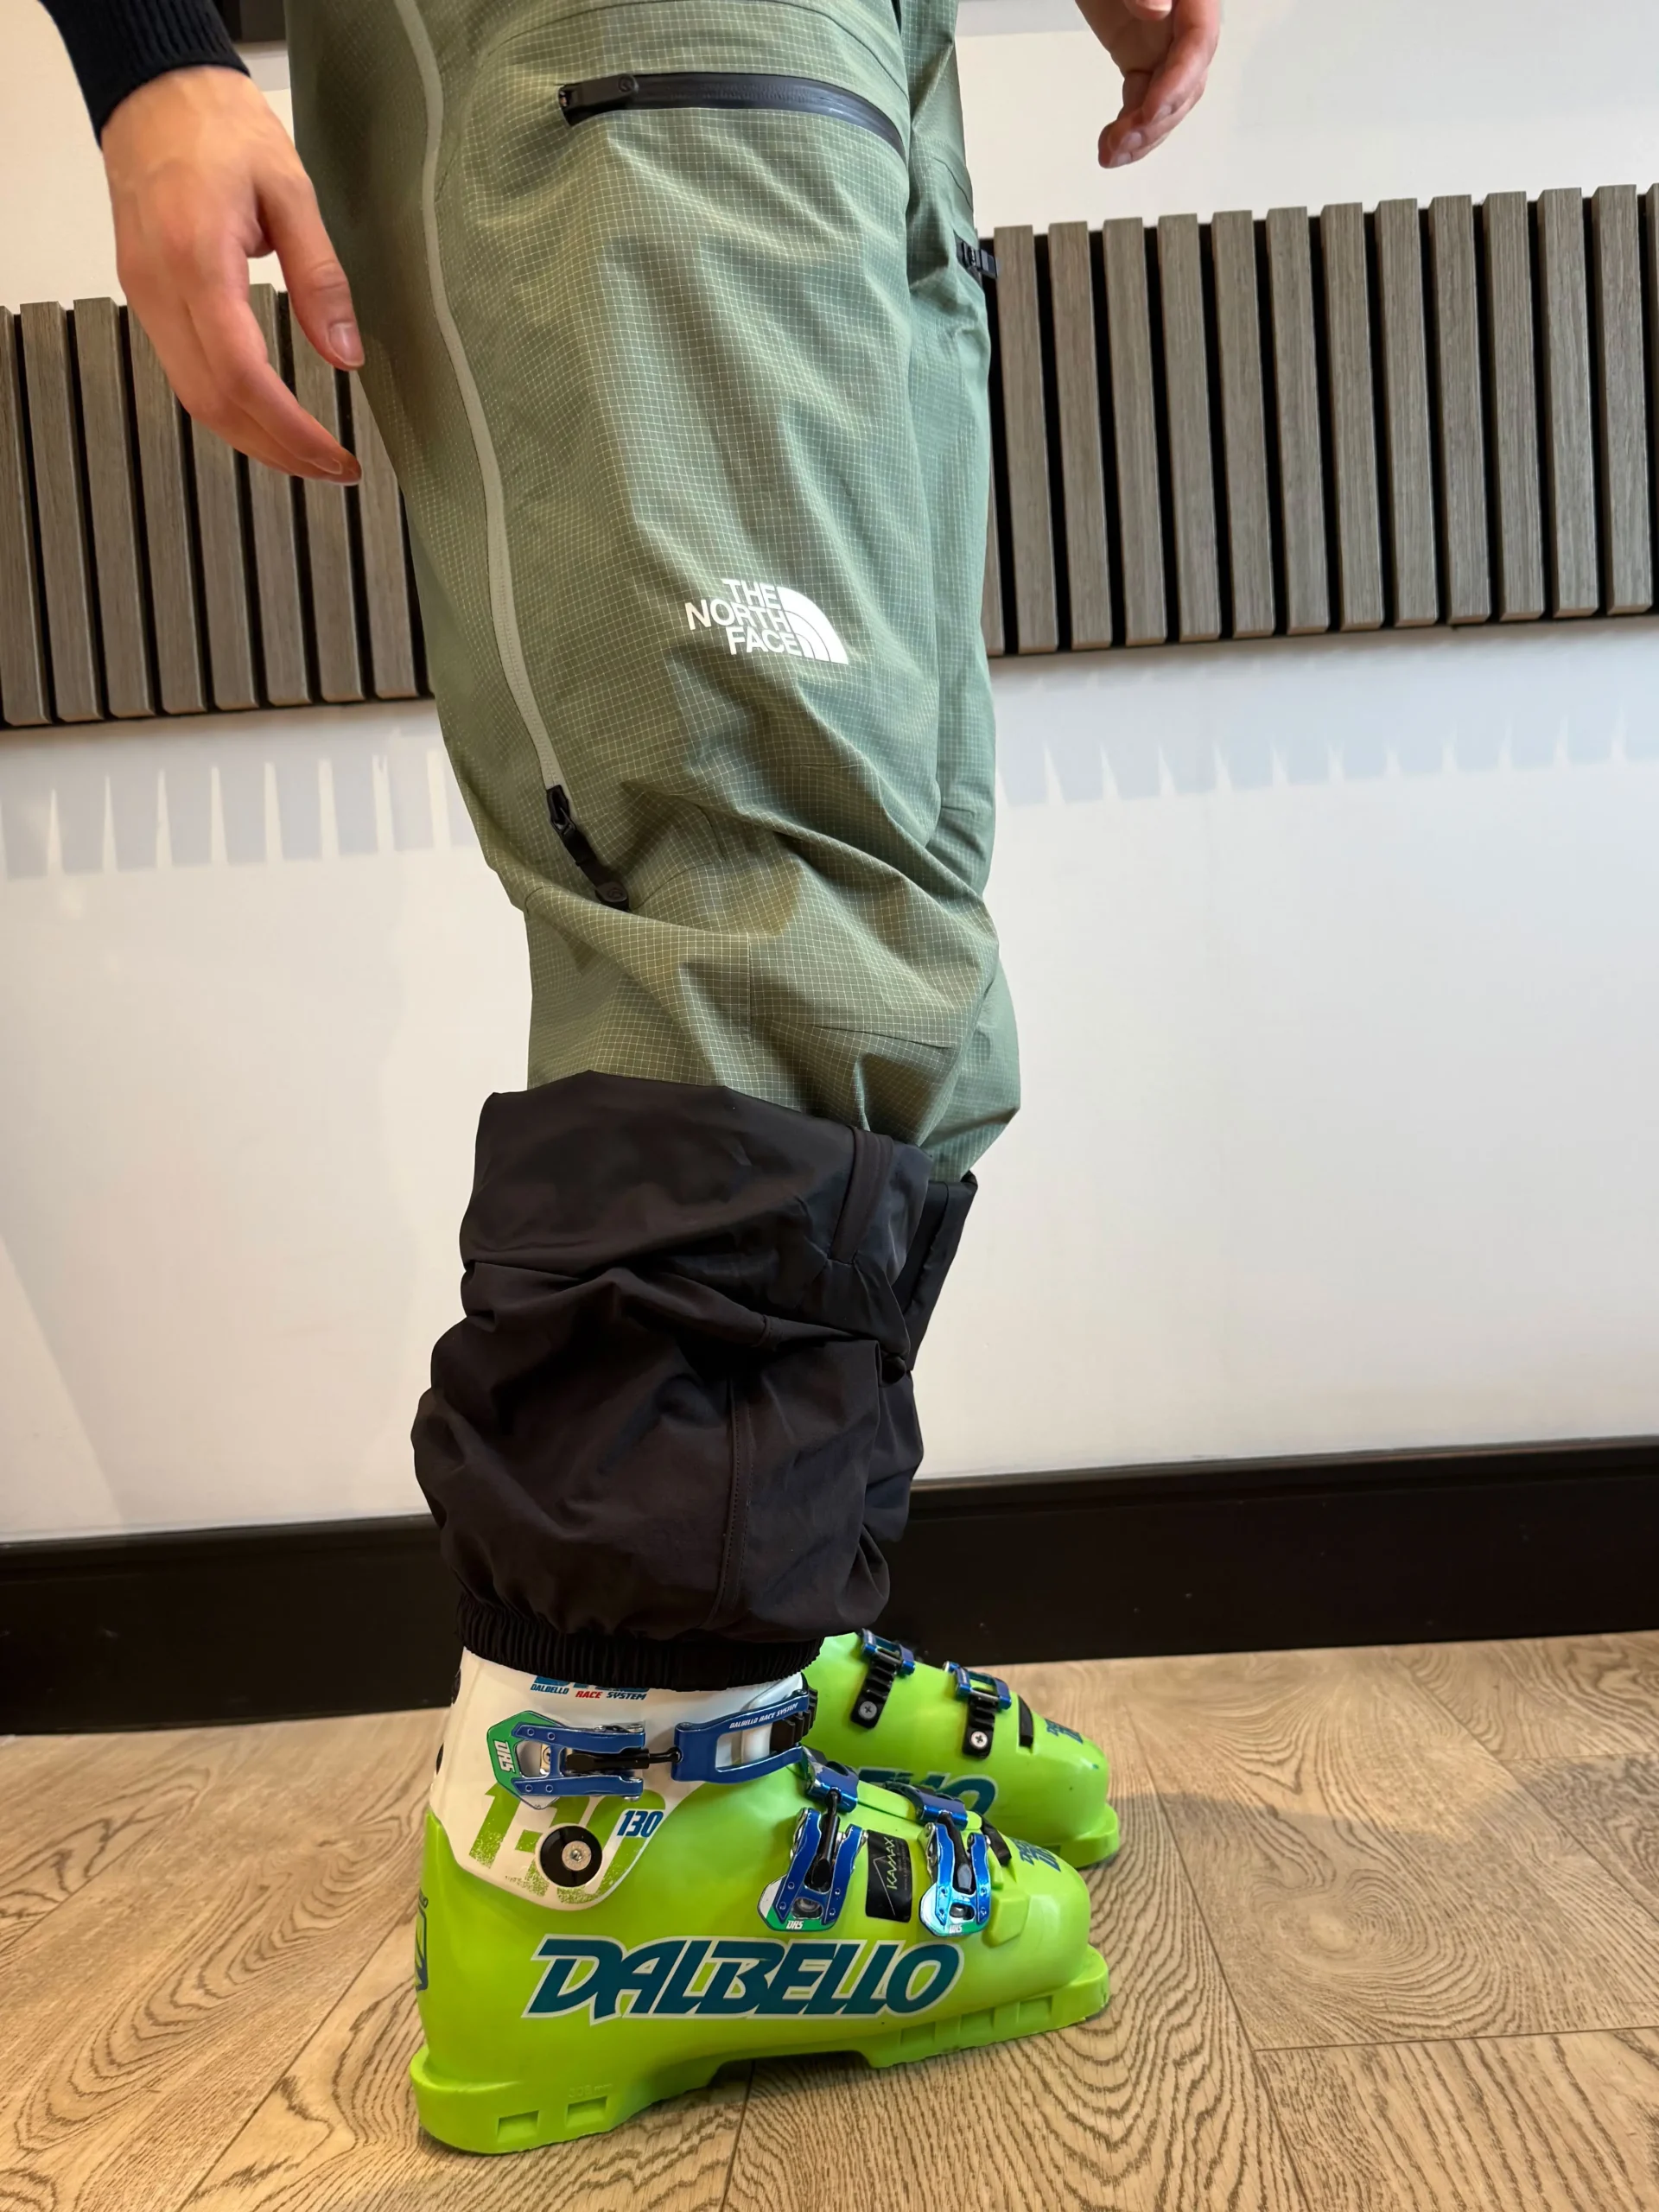
Snowgaiter pulled over boot – Middle photo
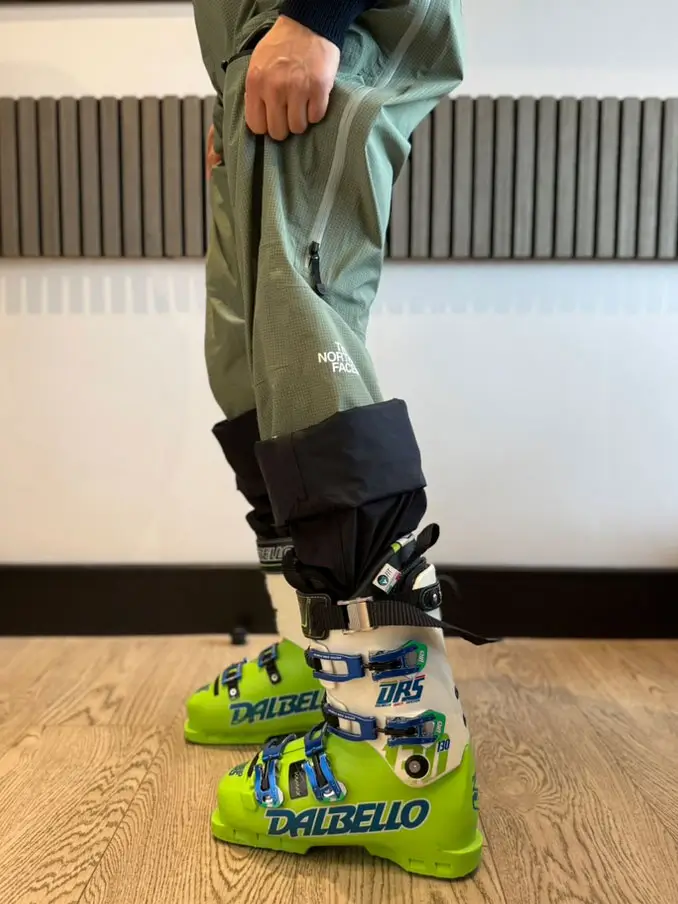
Snowgaiter tucked into boot – Right photo
If the elastic snow gaiter is tucked into the boot like in the picture on the right, it will be very uncomfortable. It will also let snow into the boot. Have the snowgaiter over the outside of the boot, then pull down the rest of the salopette too.