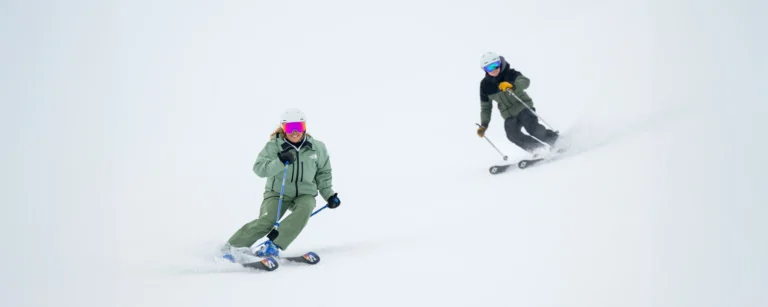
Getting ready for your first ski lesson is exciting. Here’s a breakdown of what you can expect from your first ski lesson.
Before your first ski lesson
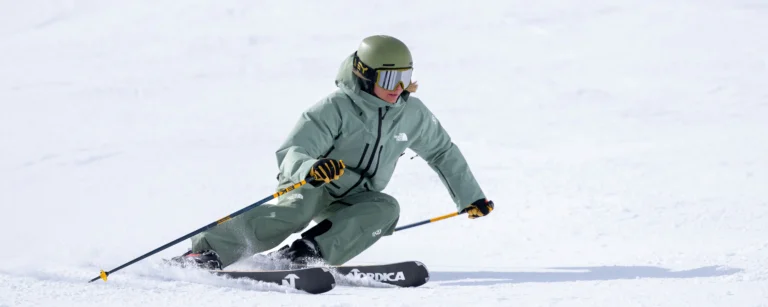
It’s a good idea to wake up early for your first lessons. This will give you more time to organise everything, get dressed and ready for your first day on the slopes. Arriving stressed and flustered is the last thing you want. Here’s all you’ll need to make sure you’re wearing when you ski.
Arriving stressed and flustered is the last thing you want. Here’s all you’ll need to make sure you’re wearing when you ski.
Here’s a brief overview of everything to bring to your first lesson.
- Skis
- Boots (on your feet)
- Lift pass
- Helmet
- Goggles
- Ski wear
- Gloves
- Poles (Optional, you likely won’t use them)
Read our blog on everything you’ll need to wear on the slopes for more details.
Collecting your lift pass and ski rental gear the evening before your first lesson is a great idea. This will leave you with less to worry about and more time to prepare for your lesson. Suppose you need help organising everything. We have a guide to everything you’ll need to book before hitting the slopes.
Getting to the slopes
Here’s an overview of meeting points to find where to meet your instructor.
Our meeting points are easy for beginners and are close to where we’ll ski together on your first day.
Lift Passes
Well, what pass will I need? Most areas we’ll be skiing will only need a local pass, but you may not need one. Our resort lift pass pages provide a more in-depth look at what lift pass is best.
Remember, as you progress, the lift pass you need will change. If you’ve got any questions about what pass you’ll need, contact our friendly team.
Carrying your Skis
Short distance
If you’ve got to carry your skis in a queue or a gondola, having them held vertically is a great idea. This means they take up little room around you and can rest them on the ground.
Long distance
If walking longer distances, carry your skis on your shoulder. The ski tip should face forward, with the toe of the binding behind your shoulder. Ensure the ski on top has its binding break behind the bottom ski. This will stop the top ski from sliding forward off your shoulder.
During your first ski lesson
The first thing we’ll do together is to familiarise ourselves with the equipment and answer any questions you might have about the session ahead.
If you’re nervous about the day ahead, we’ll never make you do anything you’re uncomfortable with. We always progress at a pace that suits you. After all, we want you to have an excellent time skiing with us.
Putting your skis on and getting moving
The first thing we’ll practice is putting on one ski at a time. A top tip is to brush any snow off the bottom of your boot by kicking the sole along the top of your binding.
To put your skis on, place the toe box of one boot into the toe piece of the ski binding. Next, align your heel with the rear section of the binding. Press your heel into the binding until it clicks, and you’re ready.
Taking them off
Push with a pole on the binding behind your heel to take the ski off. If you’ve got no poles, you can use your other foot or ski to press down on the release instead. We recommend using the pole method if you’ve got a nice pair of skis. This will avoid damaging the base of the ski that you’ll use to release the binding.
Great. Once you’re familiar with your skis, you’ll be ready to start moving. Don’t worry—we won’t make you head straight down a black run. We’ll do all our introductory skiing activities on a nice flat area.
Practising one ski at a time
Firstly, we’ll practice with one ski on. This will help us get used to sliding around on one ski with the benefit of having our other foot support us. By pushing off with the foot that has no ski on, we can experience the sensation of gliding.
Once we’ve mastered sliding around on one ski with both our right and left legs, we can move on to two. If you’ve been using poles to help you balance, you can now leave them to one side at this point. This will allow you to focus on your two skis.
Getting started on two skis
As with one ski, we’ll try to feel the sensation of moving on the flat surface, only this time on two skis instead of one. You can shuffle the skis back and forth to move. When shuffling on both skis, you might encounter a gentle uphill section. We’ll have to learn a new technique to help us make it up the hill.
To do this, you’ll need to move the tips of the skis wider and the tails closer together. Once you’ve got this shape, step your weight from one foot to the other, being careful to keep this shape. This will help you walk up the slope with the edges of the skis digging in. It may feel like you’re walking up like a duck.
Side stepping
On steeper sections, it may be challenging to walk up.
To make it up, we’ll need to turn both skis side on to the downhill direction of the slope. This will prevent the skis from sliding backwards or forwards.
Keep the skis facing across the hill, and lift the top one up, then the bottom one. Angle your ski edges into the slope to give you a platform to stand on.
As we’ve side-stepped up the slope, now is the time to ski down it.
Snow Plough Glide
First, we want to create a snow plough position. The reverse of the duck walk position from earlier. The tips of the skis will be closer than the tails, but they mustn’t touch. This is important, as if the tips cross, we’ll fall over.
When standing on our skis, we should feel a slight pressure on our shins in the front of our boots. Our ankles should be flexed to create much of this forward pressure. Our knees should also help us flex the boot, with them towards the front of the boot.
Our hips are another area we need to watch. They mustn’t be sat behind our heel but otherwise in a central, balanced position.
Holding this position will let you glide to a stop in a flat area.
Now it’s time to practice. Your instructor will be on hand to help you out and give you feedback, tips, and drills as you improve.
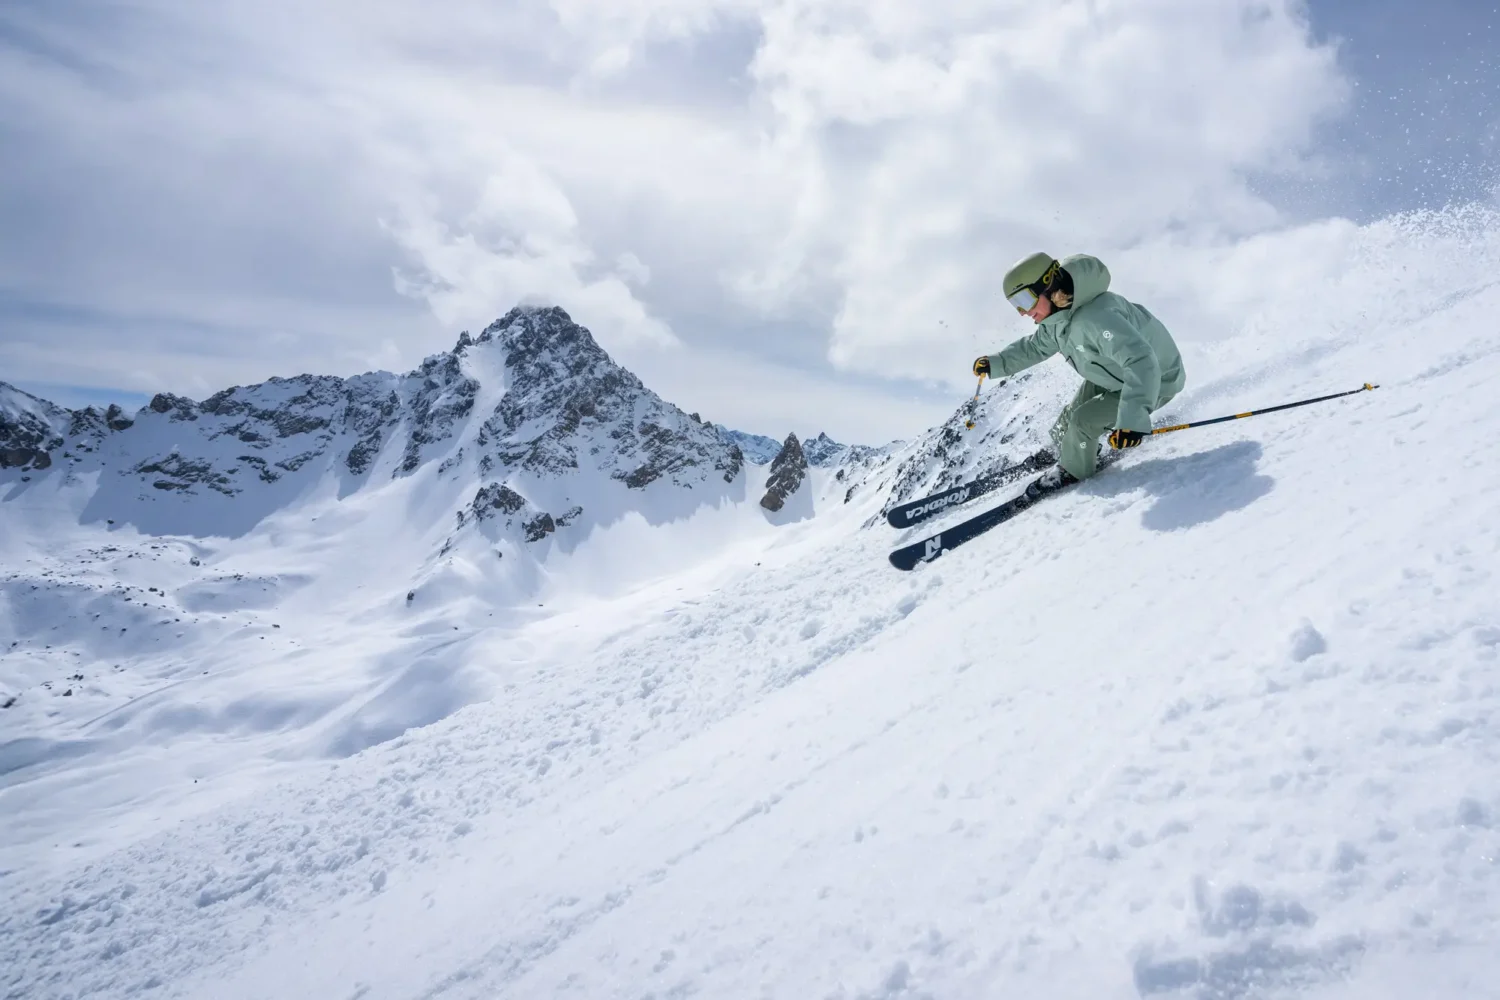
Getting to grips with turning
Once we have mastered gliding forward in a snow plough, we’ll look to start turning. Turning is an excellent way to control your speed, not to mention helping you when you’re trying to get from A to B.
To start a turn in snowplough, apply more forward pressure to your left or right leg. This will help you to start the turn. To begin with, press on the left, then to the right to make a series of small turns. When pressing down, ensure that you press into the front of the boot.
On a longer slope, try to hold the turn so that the skis’ point all the way from 9 o’clock to 3 o’clock. Then turn them back from 3 o’clock to 9 o’clock, whilst imagining that 12 o’clock is downhill.
Taking the Magic Carpet
If you need a longer slope to practice this, it will be time to take the magic carpet. This will likely be your first lift, taking you from the bottom of the beginner area to the top.
Shuffle your skis onto the start of the travellator. It will first pull the front of the skis onto the belt, and then you’ll be on it. There might be a slight jolt as you get onto the magic carpet. When getting off, shuffle your skis forward and away from the exit area of the magic carpet.
Remember to keep your skis parallel on the magic carpet, in line with the travel direction of the travellator.
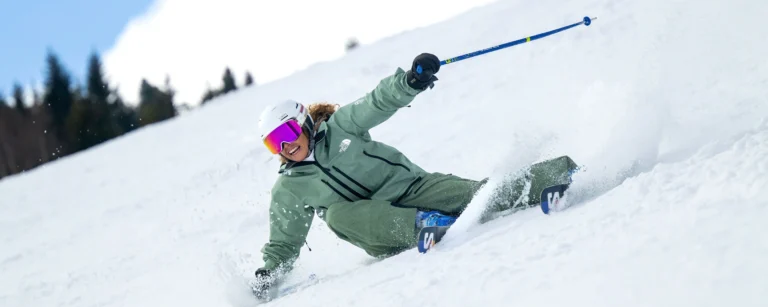
Falling over and getting up
Falling over is part of the game. It never normally hurts, as you’ll have a soft landing in the snow.
If you fall, there are a few ways to make getting up much easier.
If you’ve still got two skis on
If both of your skis are still on, remember to position both of your skis across the downhill direction of the hill. To stand, you must also have both of your skis downhill of your body.
Push off with your hands on the slope above you to get up. It helps if you stay small while getting up.
If both of your skis have come off
Sometimes, when you fall, it is normal for one or both skis to detach from your boots. There are a few differences between putting your skis on after a fall and putting them on otherwise.
When your skis come off, the binding will release. The binding behind the heel will have popped up in its released state, as if a boot were clipped in.
Press the binding release down until it clicks to get back into your binding. If you don’t do this, you’ll be unable to push your boot back into your binding.
Once both bindings are ready, ensure that your skis face across the slope. If the skis face downhill, you’ll start sliding off once you’re clipped in.
When putting your skis on steeper slopes, ensure that both are lying on the hill above you. Use your nearest leg to clip into the nearest ski. Turn yourself and the remaining ski 180 degrees. Then clip your second boot into the remaining ski above you.
If you lose only your downhill ski, turn 180 degrees so that it is now your uphill ski. This will make it much easier to put on, giving you a platform to stand on and an easier angle to put on your other ski.
After your first ski lesson
After your lesson, it’s brilliant to continue practising everything we did together. Practice makes perfect. Remember not to overdo it. You’ll likely have many more days skiing that week. Your first day on skis is often tiring, with fatigue creeping up on you. Getting the most out of your time on the slopes is a balancing act. If you’re tired, there is no harm in taking a break. You can also head down the mountain early for some apres-ski activities.
Are your legs feeling it after your first day on the slopes? We have an article on the best ways for you to recover.
It’s also not a good idea to go straight for the kill on anything too steep or technical after your lesson. Whilst it is admirable to push yourself. We don’t want you to dent your confidence on anything too difficult.
We don’t doubt that you’ll be skiing technical terrain soon enough, make sure you’re ready to take it on before you do.
If you’d like to take your skiing to the next level, following on from your first lesson, then get in touch. We would love to continue your skiing journey with you.