FR
FR  DE
DE 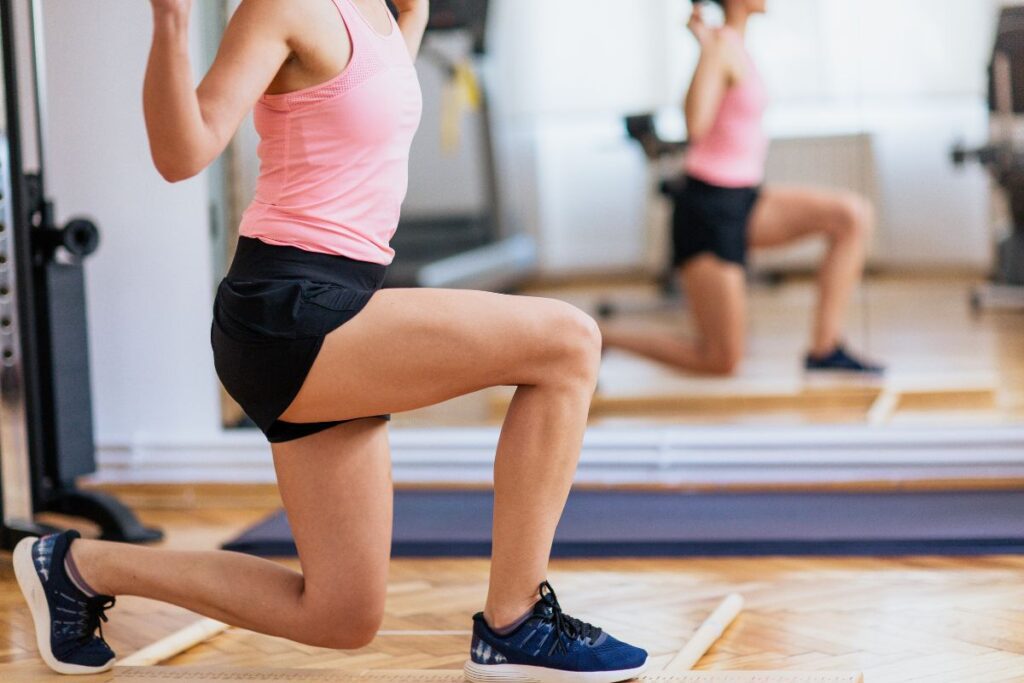
You’ve built your foundation, now it’s time to build on it. The purpose of this program is to develop the strength, power, mobility and conditioning that will let you ski stronger for longer, take on steeper and more varied terrain, progress the skills you’re working on in your lessons, and keep reducing your risk of injury.
Safety considerations
It’s important to train safely, here are a few tips to avoid injuries.
- Neutral spinal alignment: Your spine has 4 natural curves. When training strength, you should aim to maintain a neutral spine to protect it.
- Neutral wrist alignment: When training under load, a small amount of flexion or neutral wrist is ideal.
- Don’t forget to breath: Bracing ones core is extremely useful for heavy lifts, but make sure you understand the principle behind it. To keep it simple, breath in during eccentric and out during concentric muscle contractions.
Mobility
In skiing, we move across all 3 planes of motion. We rotate, move laterally and we extend and flex. We therefore need sufficient mobility for these movements so they do not limit performance quality or increase the risk of injury.
We can use static stretches, as listed below, to gradually increase mobility over time. These stretches should be performed for at least 30 seconds. Perform these post-workout, or on rest days.
| MOVEMENT | NOTES & VIDEO |
|---|---|
| Hips | |
| Seated Glute Stretch | Bring the chest up to the sky and counter-rotate to increase the stretch. Watch video |
| Lunge Hip Flexor Stretch | Watch Video |
| Piriformis Roll Out | The piriformis is a sneaky muscle that can get surprisingly tight and cause all sorts of aches. Here’s how to foam roll it. Watch Video |
| Legs | |
| Standing Hamstring Stretch | Watch Video |
| Quadricep Stretch | Watch Video |
| Back / T-Spine | |
| Threading the Needle (T-Spine) | Watch Video |
| Back extension | Watch Video |
| Cat Cow | Watch Video |
| Lateral Leaning Side Stretch | Watch Video |
| Lizard Pose with T-Spine Rotation | A great movement to use in a warm-up – it combines hip and spine mobility in one. Watch Video |
Gym or at Home?
You can build a strong improver base at home or at the gym, so pick the program where you’ll train hardest and most consistently.
Skiing requires:
- Strength through range of motion
- Power and explosiveness
- Balance and coordination
- Mobility through different planes of motion
- Conditioning for repeated interval efforts
Volume of training is reps × load. The gym puts more load on you, meaning fewer reps for the same stimulus. At home, you’ll lean on harder variations, tempo, unilateral (single-limb) work and plyometrics to keep it challenging.
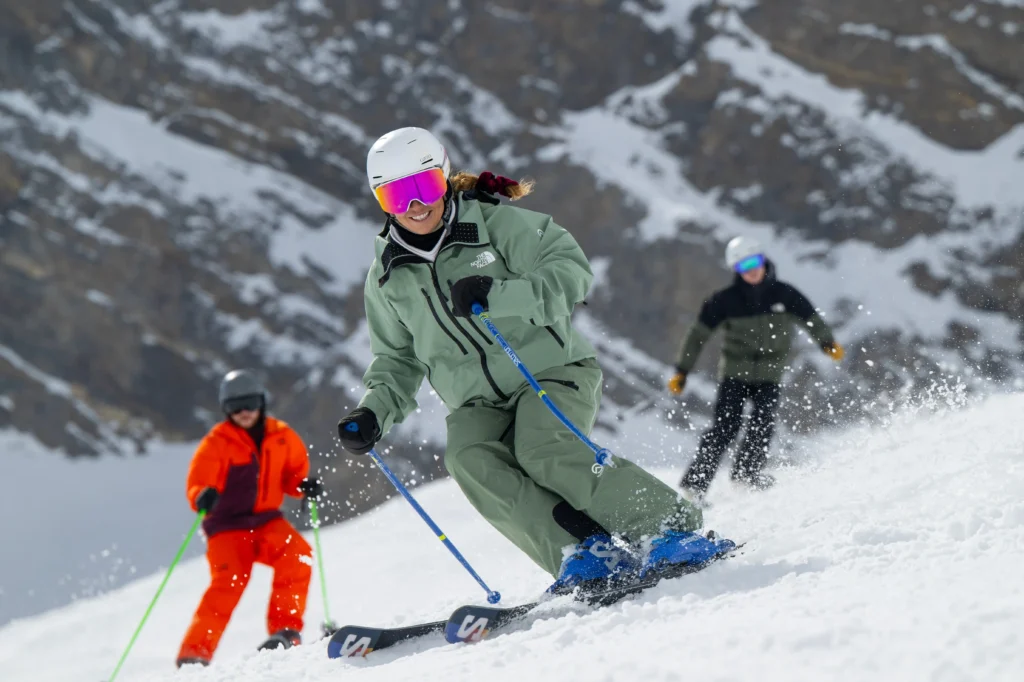
Training at the gym
The gym gives you loadable equipment, so you can progress strength and power precisely and often more safely. As an improver, prioritise the free-weight compound lifts – squat, hinge, press and pull – and add explosive work to build power.
Training at home
At home, training shifts toward unilateral and plyometric movements – great for the balance, control and skiing-specific power you need on snow. Be ready to push yourself: harder variations, tempo, short rest and super-sets are where the challenge comes from.
Warm Up
The most important aspect of a warmup is increasing the bodies temperature. Dynamic stretching is also extremely
beneficial. If the prevention of injury isn’t enough to encourage you to perform one, then perhaps knowing that it may lead to increased muscle power output will be. More output = more progress.
Start by increasing heart rate. You can do this using cardio, whether its a machine (like an assault bike or a brisk walk, gentle jog. Aim for 55-65% of max heart rate or a light sweat. This should take around 5 minutes).
After that, take your working joints through full range of motion. For example for your shoulders when performing push ups in your workout, you may perform windmills.
Then perform a progressive pyramid up to your working sets. This means starting at a low intensity and gradually working up
to your working intensity. In the gym, this will be performing the exercise below your working weight and working your wa up to it. At home, it may be performing less reps.
The Gym Program
The eight-week gym programme follows the weekly split below. Each day is numbered — the exact day of the week isn’t so important, but it’s useful to space each day as shown. An active rest day is light movement (gentle walks etc.) to help you recover from the day before while keeping you moving. Day 7 is a total rest day.
| 01 | LOWER BODY — Strength & Power |
| 02 | Active rest |
| 03 | UPPER BODY |
| 04 | ROTATION & CORE |
| 05 | Active rest |
| 06 | HIIT — Ski Conditioning |
| 07 | Rest |
How to Apply Progressive Overload
At the gym, you can use weight and reps to increase the intensity of your exercise where applicable.
When working in a rep range, for example, 8-12, start where you can lift the weight for 8 reps. Each week, try and increase the number of reps . When you can hit 12, increase the weight and aim for 8. If you’re unsure at what weight to start, ask for advice at the gym or start low and work up the weight.
| Lower Body |
| EXERCISE | REPS | REST | SETS | NOTES |
|---|---|---|---|---|
| Leg press | 4–6 | 3 mins | 2 hard sets for the first 4 weeks (excluding warm up) 3 for second 4 weeks. | This is our main strength-building exercise. Keep your feet in a neutral comfortable position. Watch Video |
| Barbell RDL (Romanian deadlift) | 8–12 | 1.5 to 2 mins | 3 | The key with RDL’s is to master a hip hinge with neutral spine. If you lack hamstring flexibility, you can use these to gently stretch and build length (carefully!) Attached are 2 videos to help set up and navigate the hip hinge movements. RDL Video in depth Dead lift video |
| Dumbbell walking lunge | 10 steps each way | 1.5–2 mins | 3 | Walking Lunges can be challenging with just body weight, make sure to work your way up. With dumbells, load both hands. Watch Video |
| Nordic Hamstring Curl (or heavy single-leg curl) | 10–12 each leg | 1 min | 3 (per leg) | You may do these either seated or lying down. Lying down will help you feel the hamstring’s squeeze at its shortest position. Seated will encourage a stretch at its longer position. I’d recommended seated as a single leg will help you focus on mind muscle connection anyway. But it comes down to preference. Watch Video |
| Sideways banded squat monster walks (optional extra) | 15 steps both ways | 30 seconds | 2 or 3, depending on fatigue | An optional extra to finish off. Skiing involves a lot of lateral movement and stabilisation. This will target the glute medius; it will be a challenge to focus on it at the end of all of the above! It is also a great warm-up activation exercise and can be used as such instead. Watch Video |
>> Download the full program here
What’s next for ski improvers?
Stick with it. Progress a little each week, keep your form clean, and you’ll feel the difference the moment you click into your skis. If you’re ready to book your ski lesson, you can check our booking system or contact our team, who will be happy to assist you. See you on the mountain.